The kitchen is officially finished! This post is about the building of the fridge cupboard, the splashback tiles, the floor tiles and the last few finishing touches
I added some trim to the top of the cupboard that I built with my mother over christmas


Then everything got painted white, all white! I felt a bit like this guy:

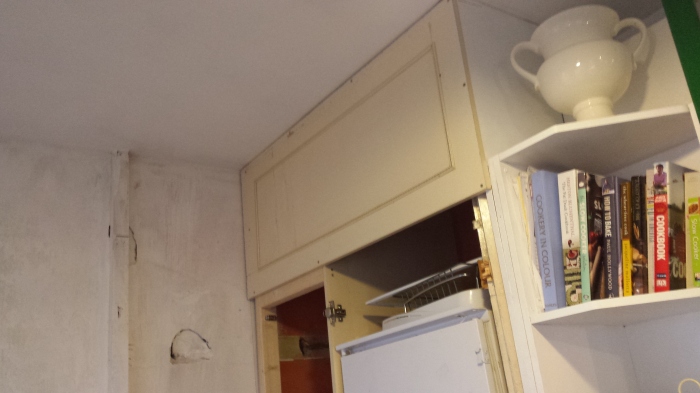
This weird nub is the reason why I couldn’t just buy a normal cupboard and install it in there.

Now it was time to get some doors on this baby.

I discovered on my last painting mission that it’s much easier to give all the doors little table legs out of screws and that way I can do a coat of all the sides at once.

The BIN comes out again to give it a decent base layer.
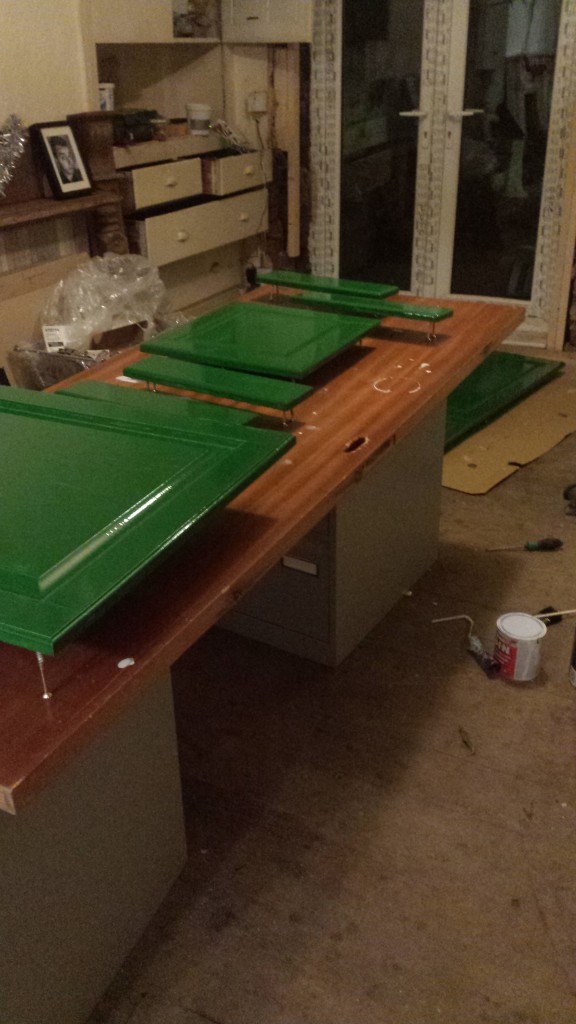
Then onward with the green!

(I eventually took my christmas decorations down)
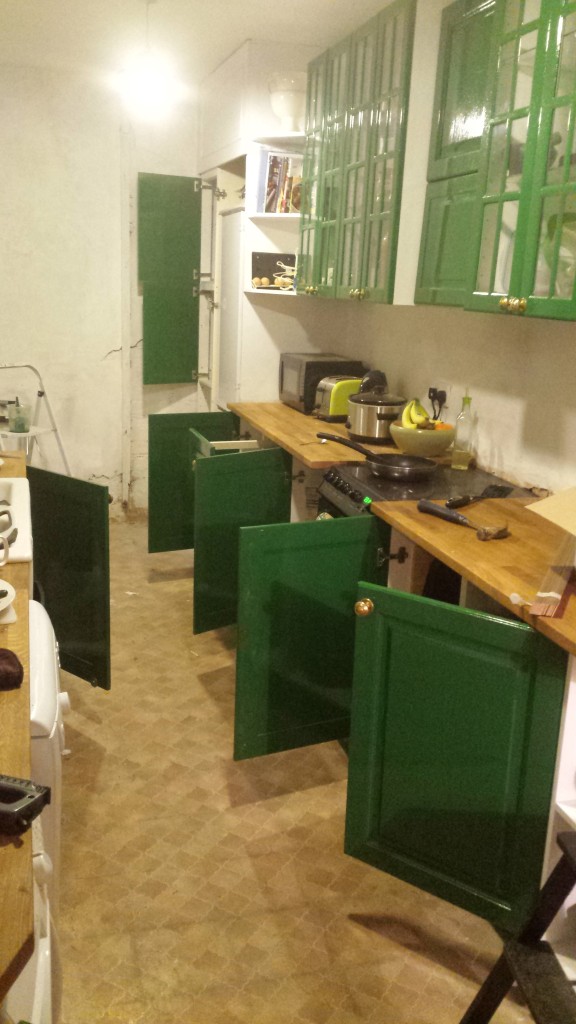
I also use this time to touch up all the bits of cupboard that had been bashed or missed during the first painting.

When the doors were all dry I popped the fridge doors on, only to find that the top fridge door scraped on the bottom green door.

I contemplated moving the hinges up and faffing about but it was solved very quickly by shoving a shim underneath the fridge foot and leaving it at that.

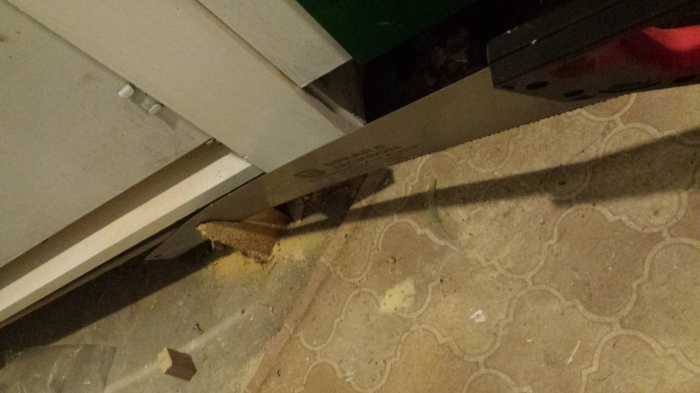
There was a gap running down the one side of the cupboard so I bought a piece of pine strip wood, screwed it to the cupboard and then closed the door to see where I needed to cut it down.

Then I cut it to size with a circular saw.
Then I trimmed some of the old cupboard wood down ready for the kickstand to be installed.

Last job on the fridge was cutting these strips from the blinds to use as a catch and slider.

Then much building of ikea thingies!

(Screwing drawer rollers into cupboards smaller than you are wide is difficult, okay?)

Yay drawers!

(Unfortunately there were some casualties in installation so I had to repaint the bottom drawer)

Painting and repainting, that’s mah job!

I got these handles from the inbuilt wardrobes that were around the house, then made a jig so I wouldn’t put them on wonky.

This is how you use a drill, right?

I then spent several hours of my life making these the right width for a basket to sit in.

(Totally worth it to give my potatoes a house)

Fridge cupboard finished- it was time to move on to exciting tiling!
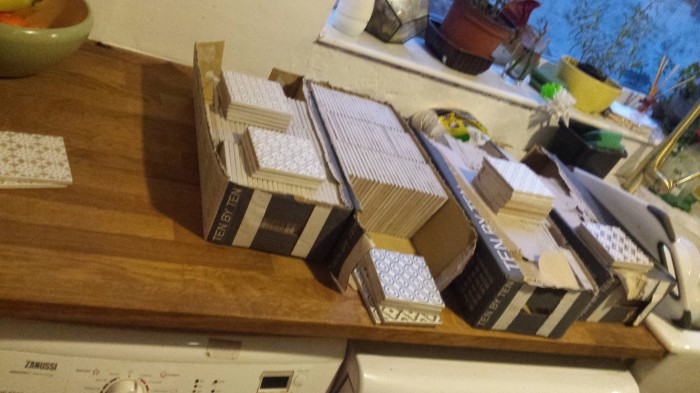
I had first thought I’d use these random batik tiles in the bathroom, but after getting a better feel for the kitchen I decided I wanted a light coloured spashback and bought a box each of grey, black, cream and green.

I then spent a rather long time figuring out what pattern I wanted to use. In the end I went with diagonals of the same colour while attempting to have no tile touching it’s pattern on an adjacent side. Making something look random is hard!

The mixing bucket and tools come out and I get tiling!


I bought a diamond tile cutter for £30 when I did my bathroom- totally worth the money, there’s no point hiring one when they’re so cheap.

Eventually I learnt how to just tile the pattern as I went, but at first I would lay it all out and double check before going ahead.

The cooker sits a bit lower than the worktop so this is how I filled the gap while the adhesive set. PROFESSIONAL.
One side- DONE.

Aw yisss, exactly fitting 3 tiles on this wall. These are the things dreams are made of.

Working my way along.

I gave up attempting to fit adhesive under the window sill and just splodged it on the tiles. At this point is was getting towards 9 at night so I sent my neighbours an apology text for all the noise the cutter was making. Turns out she couldn’t hear a thing which was grand for me as I didn’t want to start again in the morning and have to mix up a new batch of adhesive.

Last tile goes in! Ahhhhh.

A couple days later I do the whole grouting thing.

Yay tiles! As a finishing touch I ran a bead of clear silicone all down the edge and along the sink.
Urrrg, clean sides, dirty sink, story of my life.
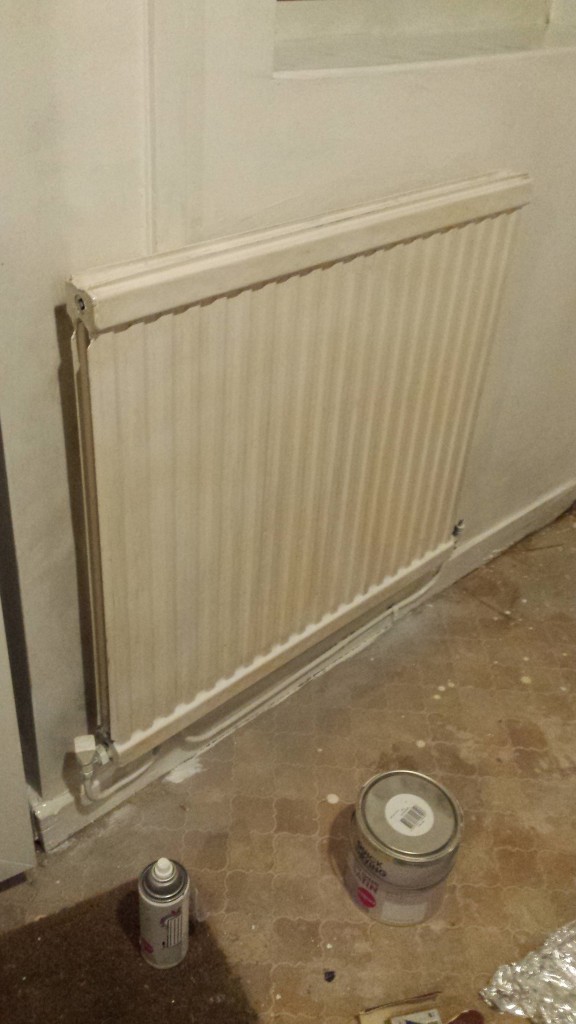
Now for some little paint jobs before the floor went in. The radiator got tarted up a bit with some white spray.
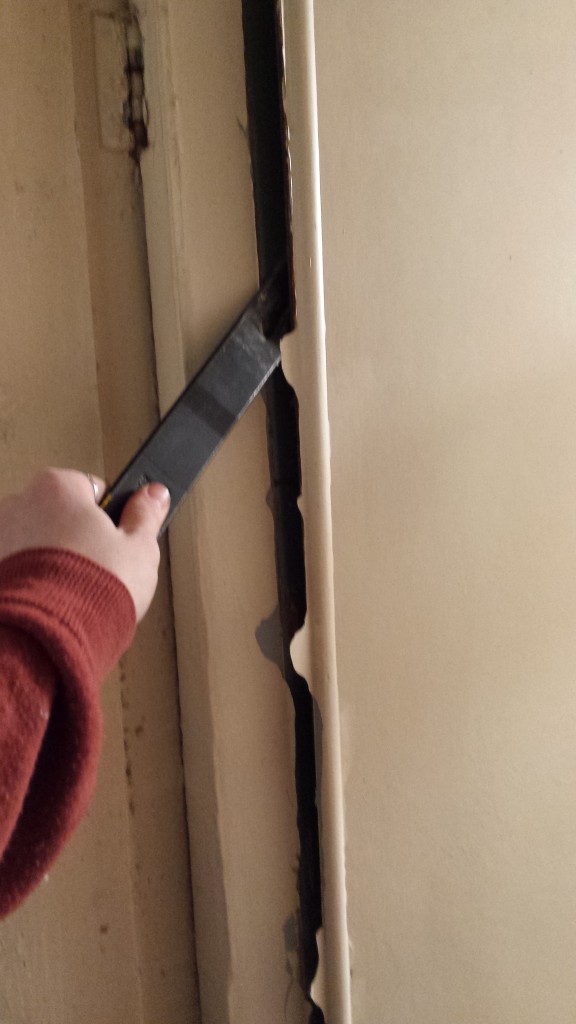
And I once again delved deep behind the random door panelling, and discovered this underneath:

Check it out! This paint was a really nice colour so I decided to just leave it and paint the edges, leaving a bit of the history behind.
The other door was the same colour underneath so they even match!

With the messiest of the kitchen work out the way I ripped out the old lino and began to lay the new lino. I hate how cold ceramic floor tiles are so while lino looks cheaper I wouldn’t pick a different option.

I had the leftovers of the underlay from the bathroom so I just used the rest of that in the kitchen.

These are 5mm vinyl floor tiles from the Kimpton Floor company. I decided to go with a green stone colour effect to make up for not having stone worktops and lay them in a diagonal pattern because, well, I thought it would look cooler.

It did however make edges a lot more difficult.

I started out scoring with a knife and snapping the tiles but eventually had to give up and just use a jigsaw.

Finishing off all the edges…

Securing the tiles to the steps under the stairs so they’re not a trip hazard…

(The iron dutch oven came in handy for weighing down corners)

After waiting for the floor to dry (and removing all the debris) it was time to add the kickstand. I saved most of the original kickstand from the previous kitchen so I just trimmed those boards to fit and made the rest from scrap chipboard.

Most of the kickstand was 14cm high so I used the circular saw to run off several lengths.


Some glue and a screw or two later and I had a lovely continuous kickstand to go with my new floor.

Then the pièce de résistance, the pot and pan rack made with wardrobe hangers and the old copper pipe we cut from under the bath.

I’m going to hang so much stuff on there, oooooh yeah.
Now I just have to wait until it’s sunny, take some pictures of the finished kitchen, and I’ll post a round up with before and afters! Until then 😀

Impressive stuff. I’ve learned that spare floorboards can also be repurposed as kickstands.
LikeLike
[…] Finishin’ the Kitchen […]
LikeLike