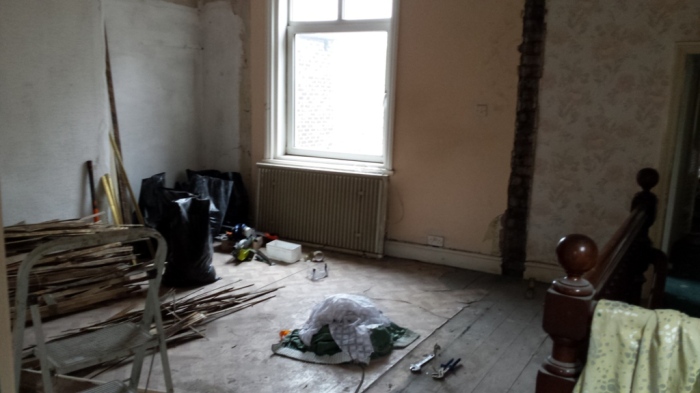
Only a crazy person would redo their bathroom and kitchen at the same time, but I’m that kind of crazy. So much of house renovations is juggling what you can do all at once, giving yourself drying time or waiting for things to arrive, so it’s not often a day will go by when I’m not doing at least something.
To give you an idea the start of this post began in november, so here is 2 months worth of bathroom.
Ready?
Here we go!
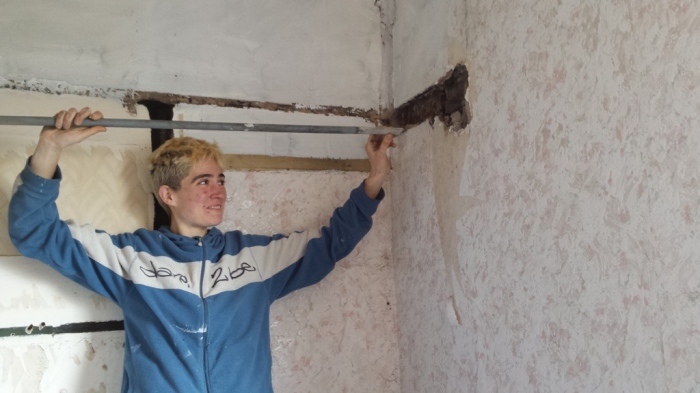
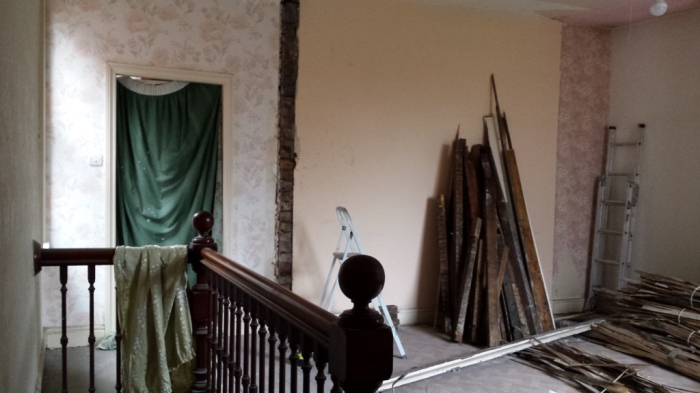
This post once again features the mighty Karen, a very tall woman who is very helpful when it comes to stripping wallpaper off high ceilings and pulling weird pipes out of walls.
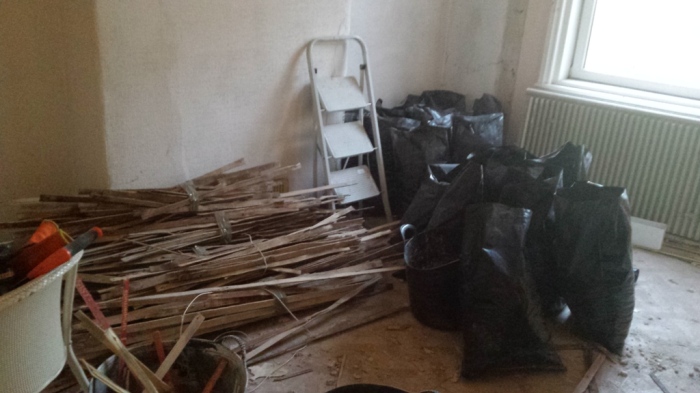
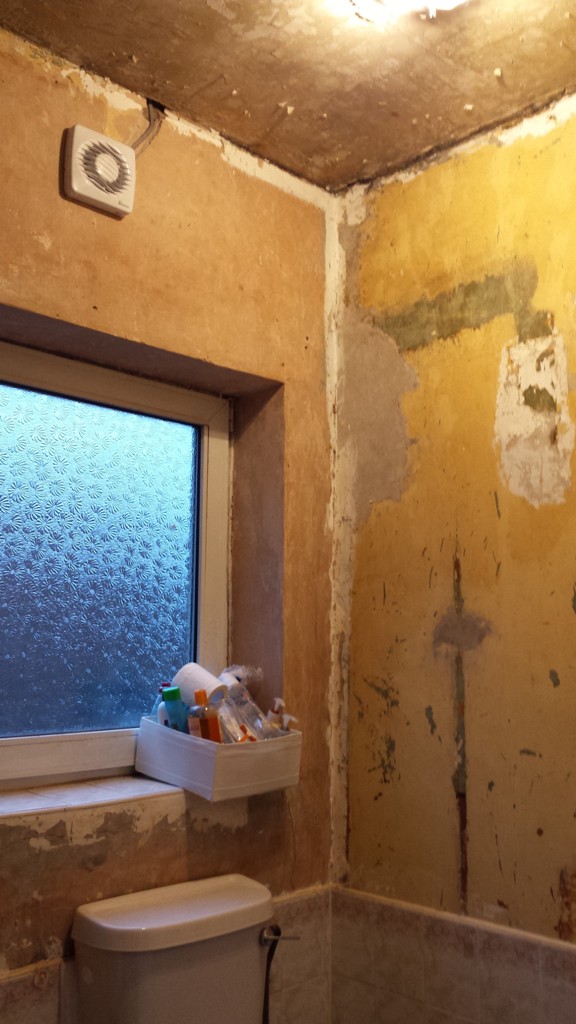
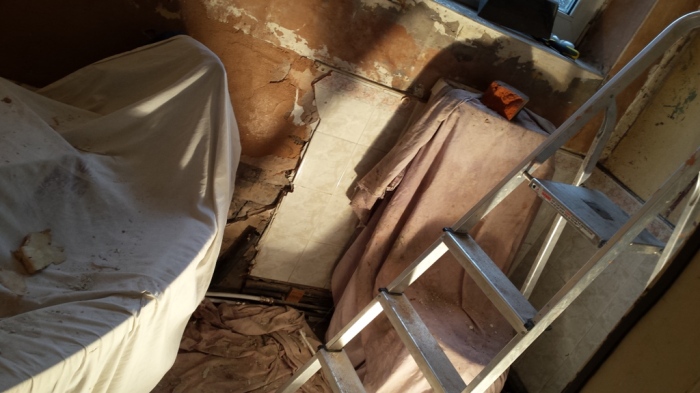
A relic of the elderly couple that owned the house before me.
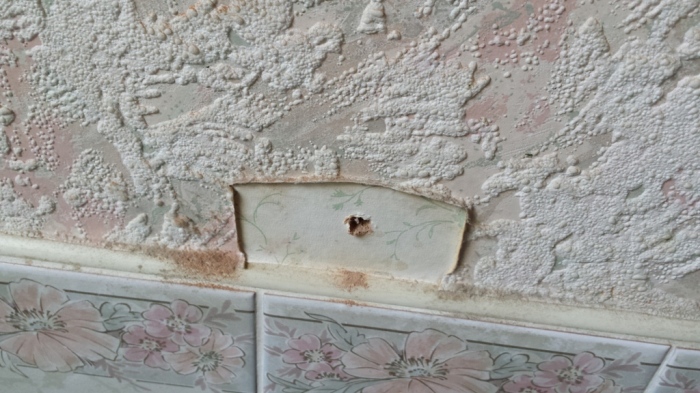
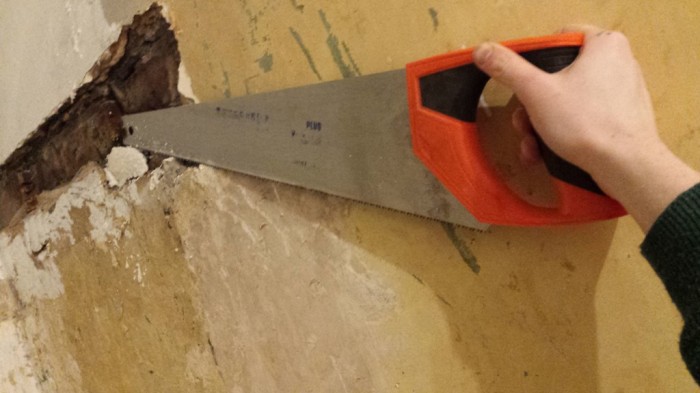
Textured wallpaper in a bathroom. Just don’t. This is the filth that was behind the mirror when I took it down.
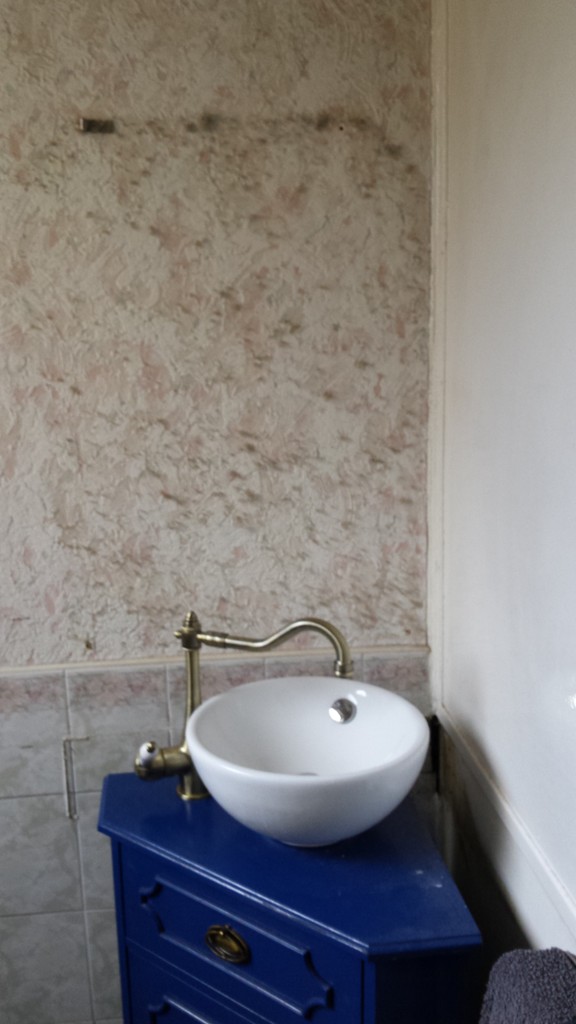
Just a reminder, you can read about the making of the cabinet sink here and the plumbing of the new bath here.
Goodbye old wallpaper!
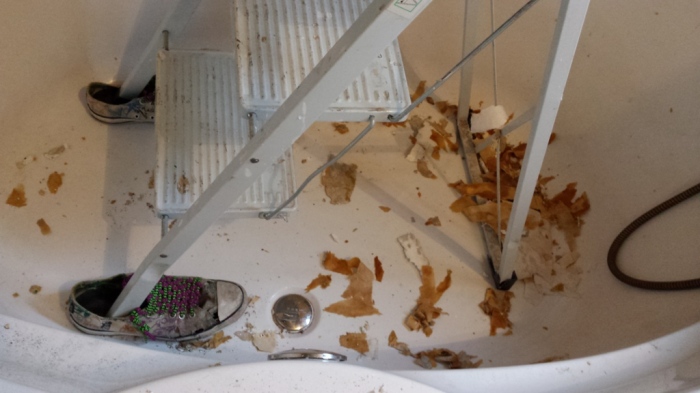
How do you stop a stepladder from scratching your new bath? Just give it shoes of course!
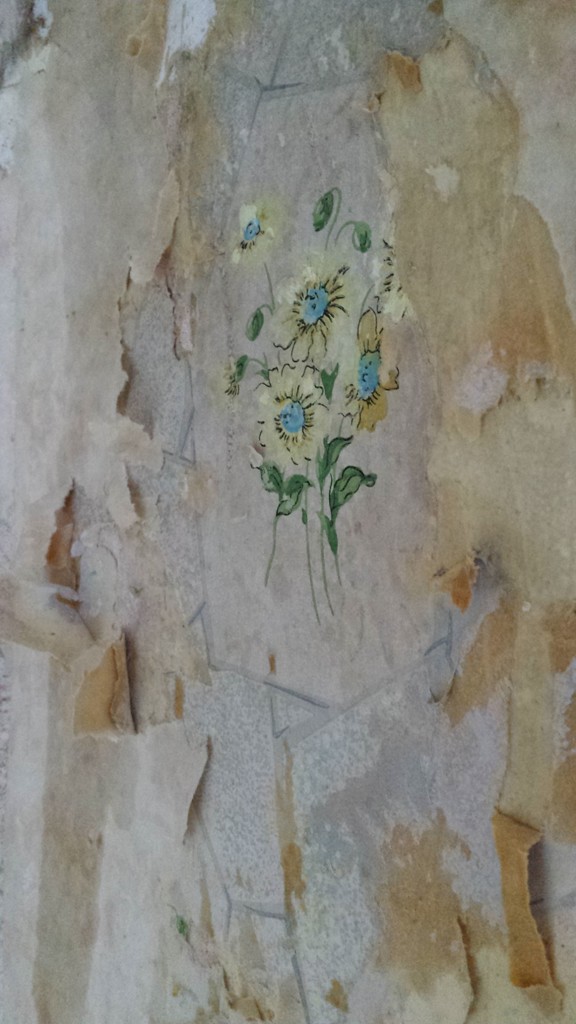
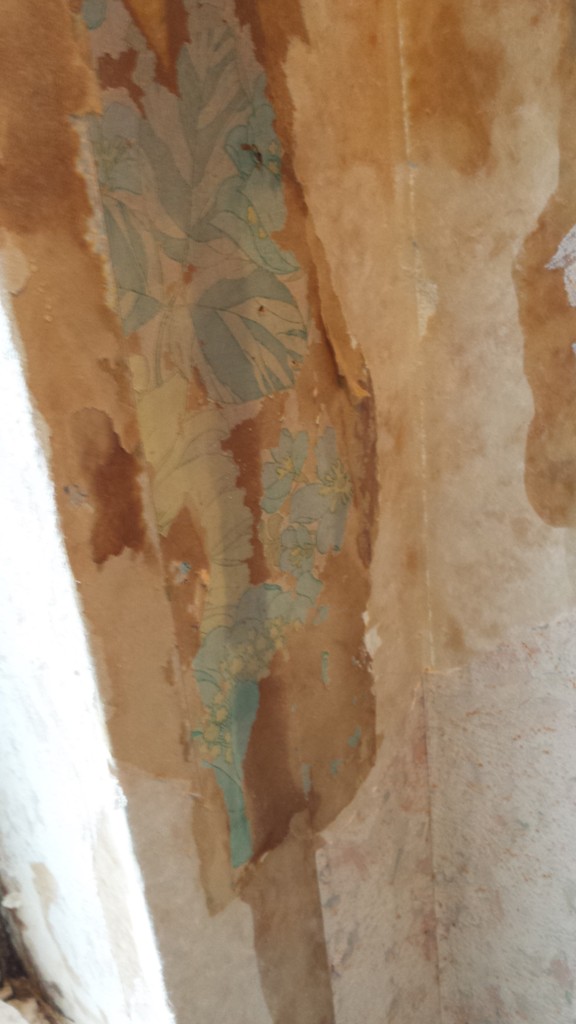
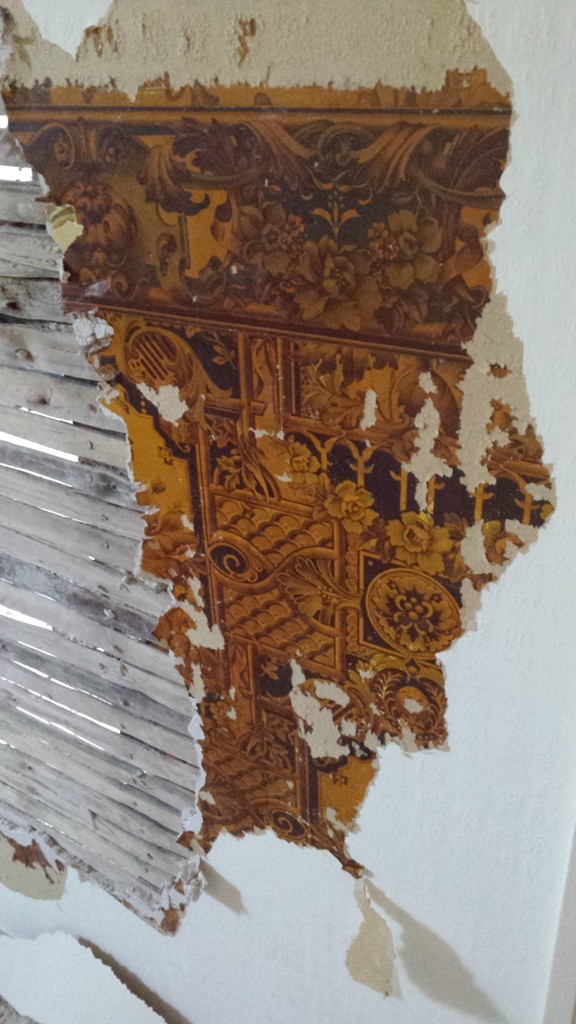
Some historical wallpaper finds. So much tasteful history, yeah? 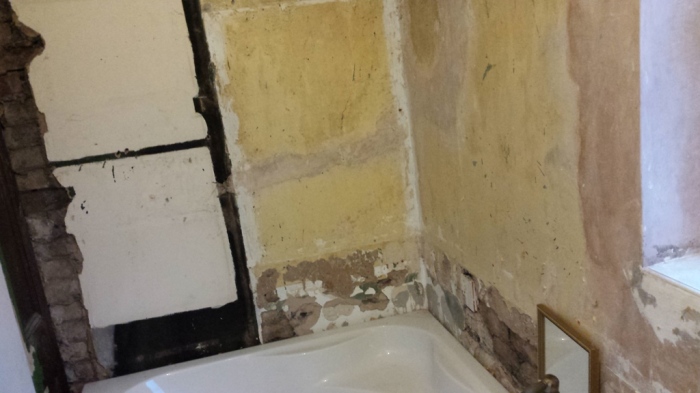
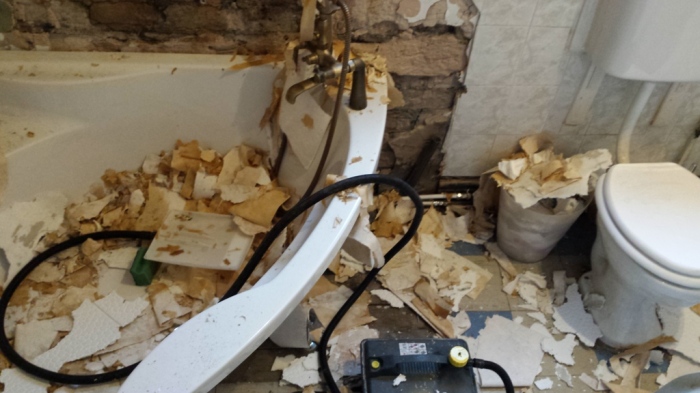
Here’s the bare, sad walls that were underneath. Sometimes I see tutorials on pintrest on making faux exposed brick walls for ‘that rustic charm’ and I just laugh and laugh to stop the crying.
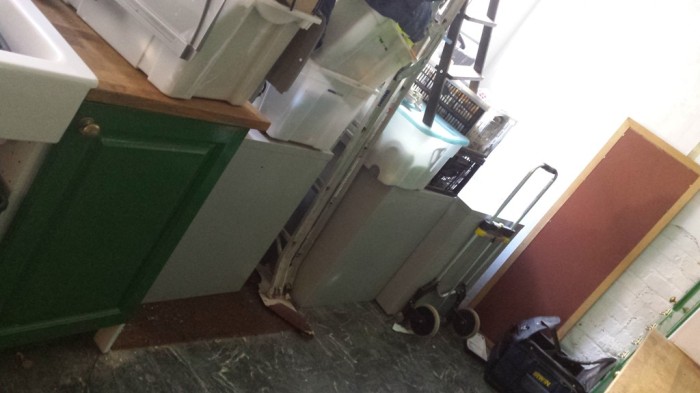
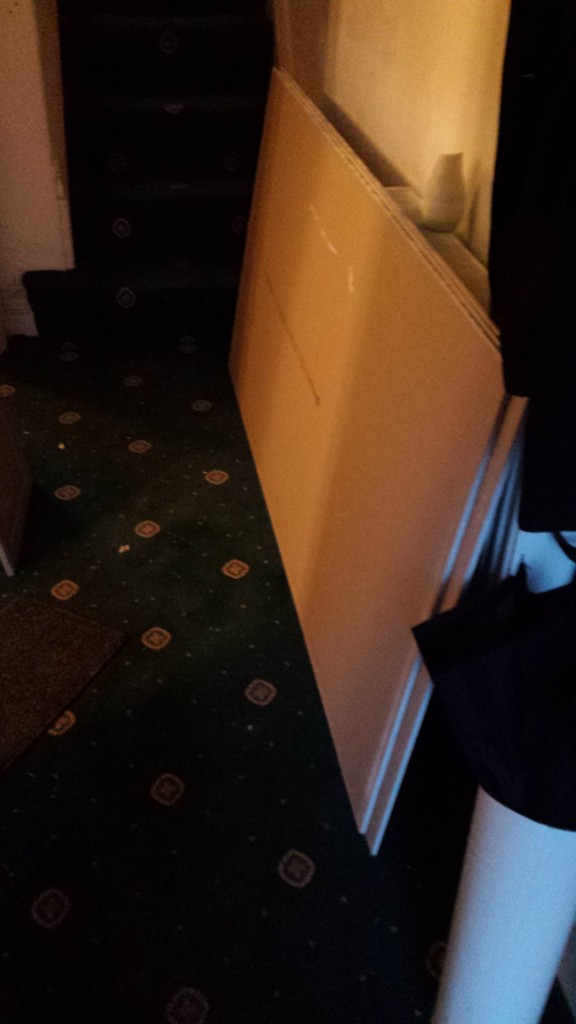
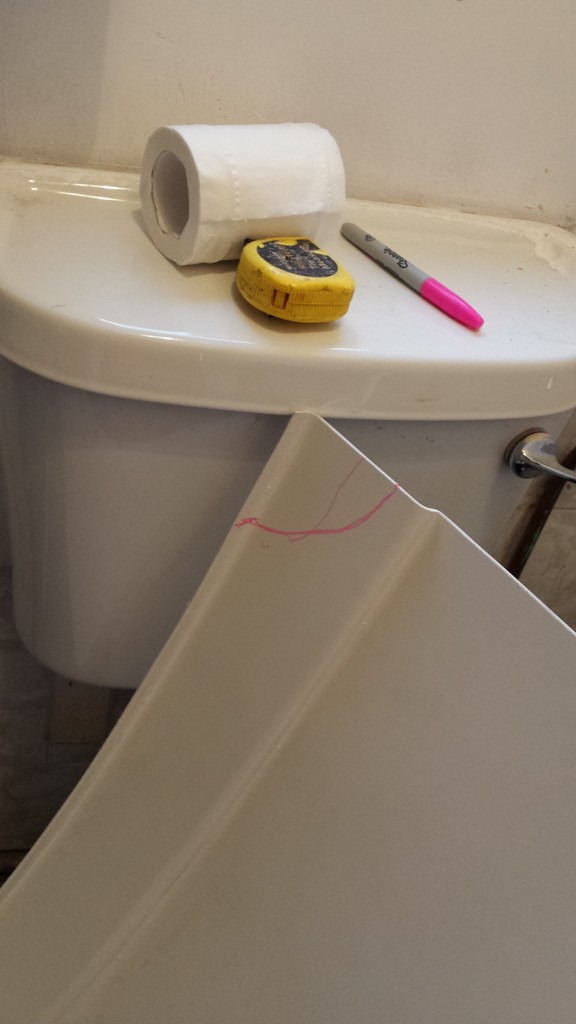
During the bathroom overhaul all of my toiletries lived in this box and would dutifully be packed away and taken outside for work, then returned once the room was swept out and the tub scrubbed. I learnt from getting the extractor fan drilled that dust covered toilet roll is particularly unpleasant.
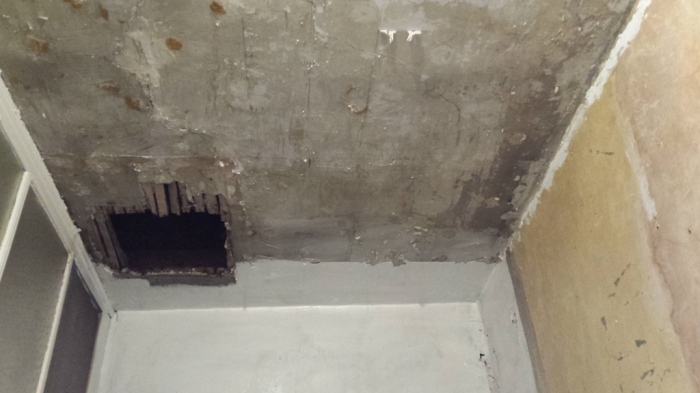
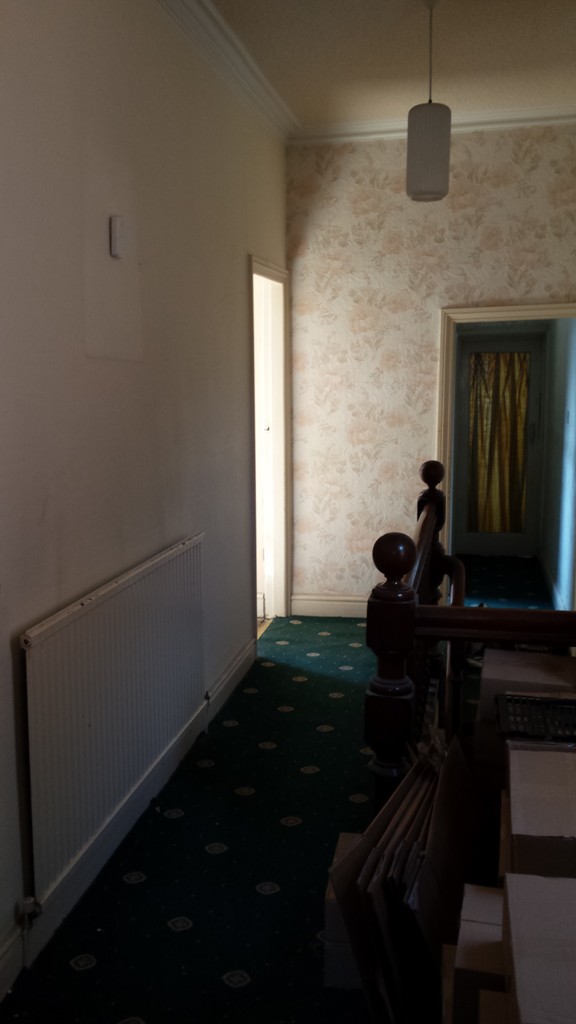
This is the old attic hatch which watched me bathe for several days while waiting for the plasterers.
Fortunately for me none of this wobbly looking ceiling came crashing down on my head. I spent a week having super quick showers because I didn’t want to linger just in case.

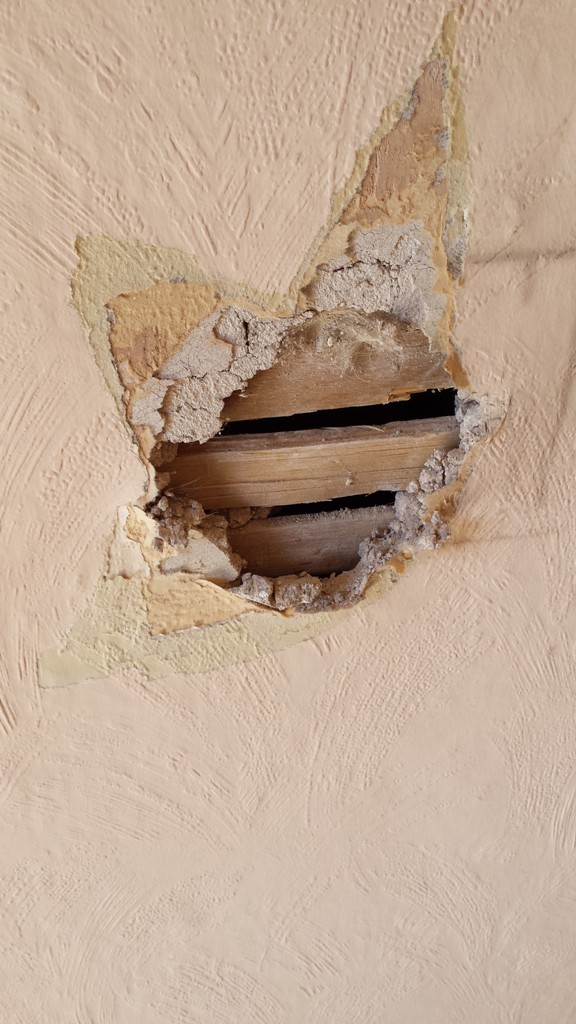
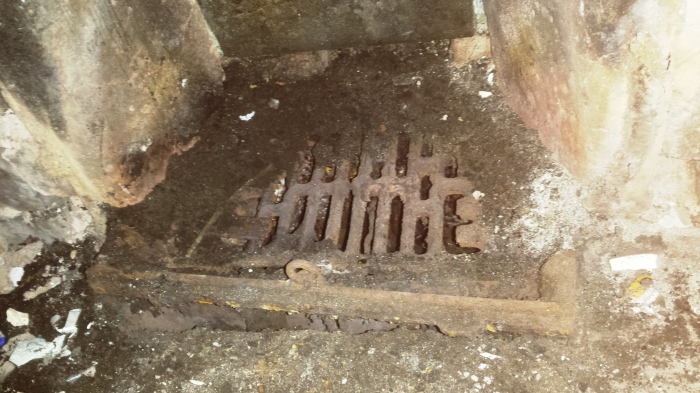
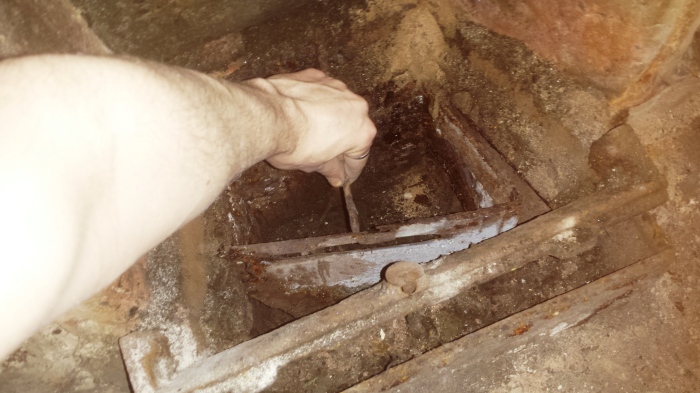
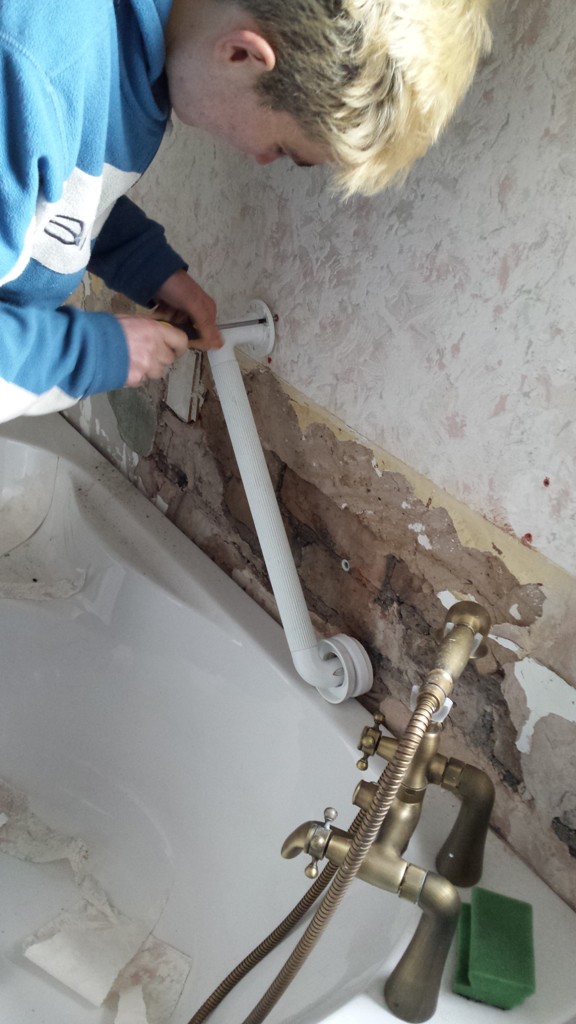
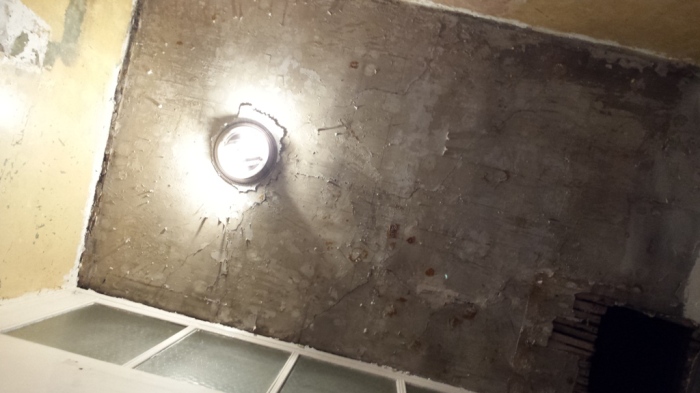
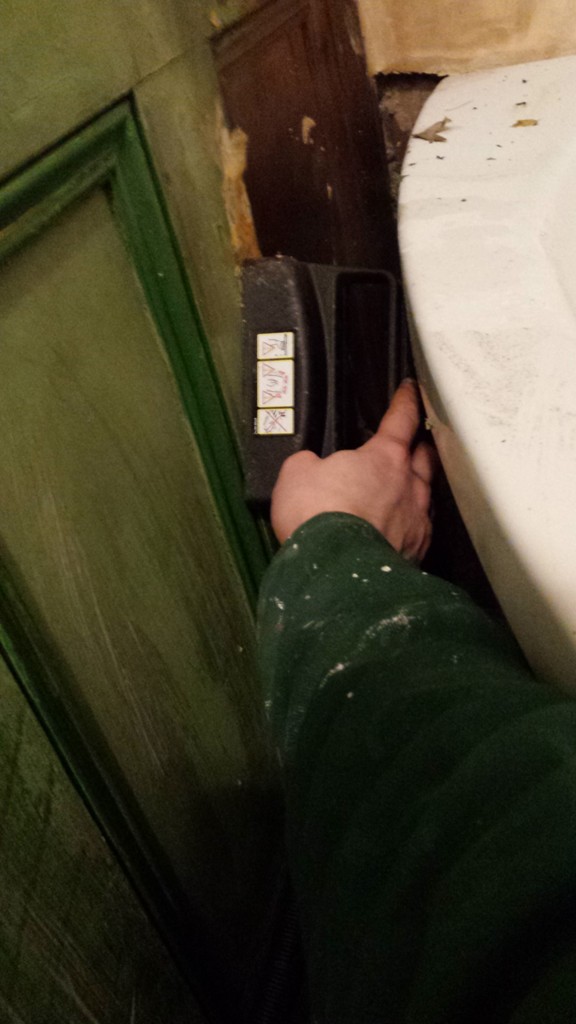
One of the jobs before the plasterers arrived was to remove all the weird tubes coming out the wall that once led to the water tank.

(Do you ever try to take a picture on your phone and it’s accidentally in selfie mode?)
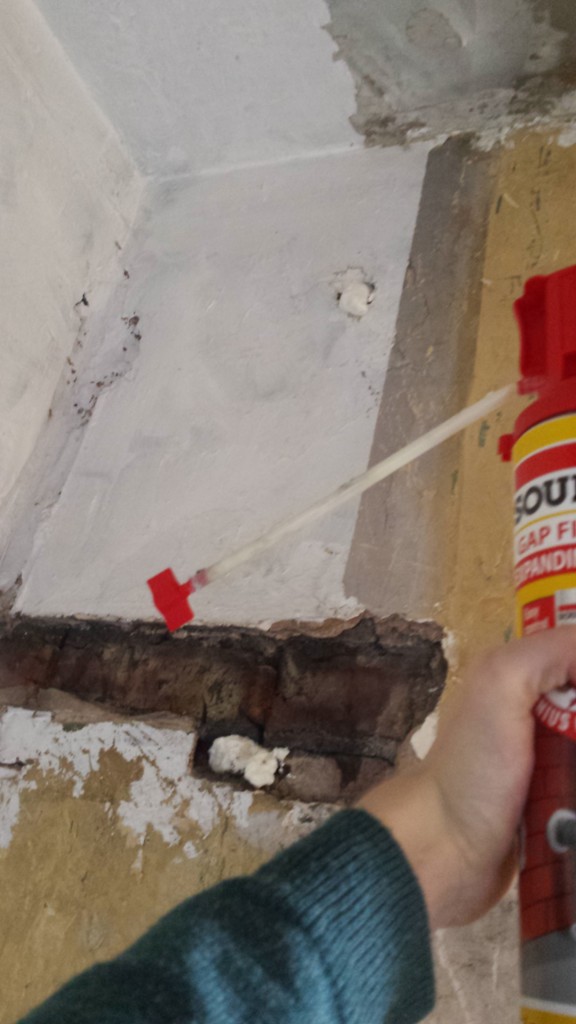
Whoooo expanding foam! Helping my house have 50% less holes since 2015.
Once it was set I trimmed that down, ready for the plastering to begin!
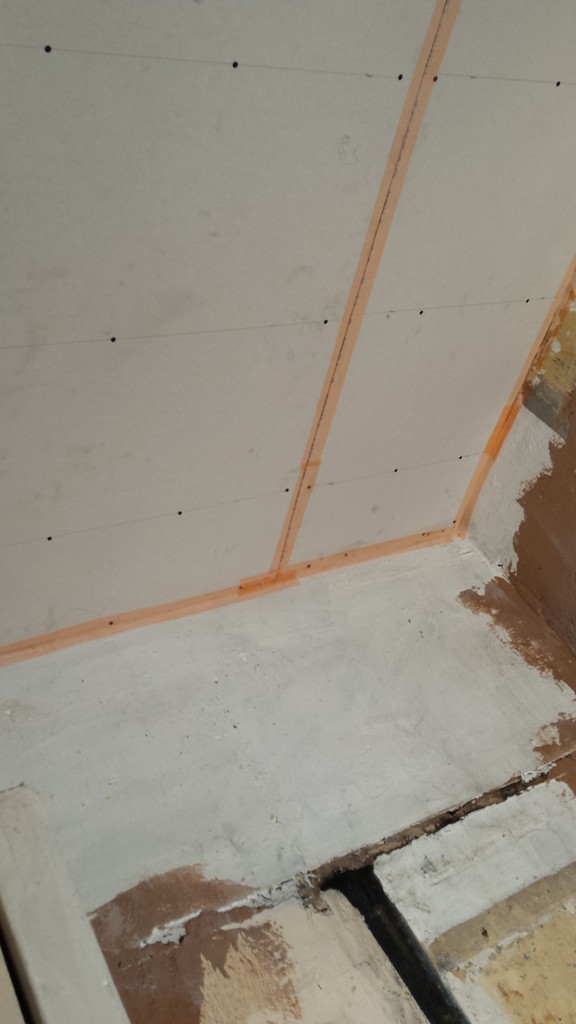
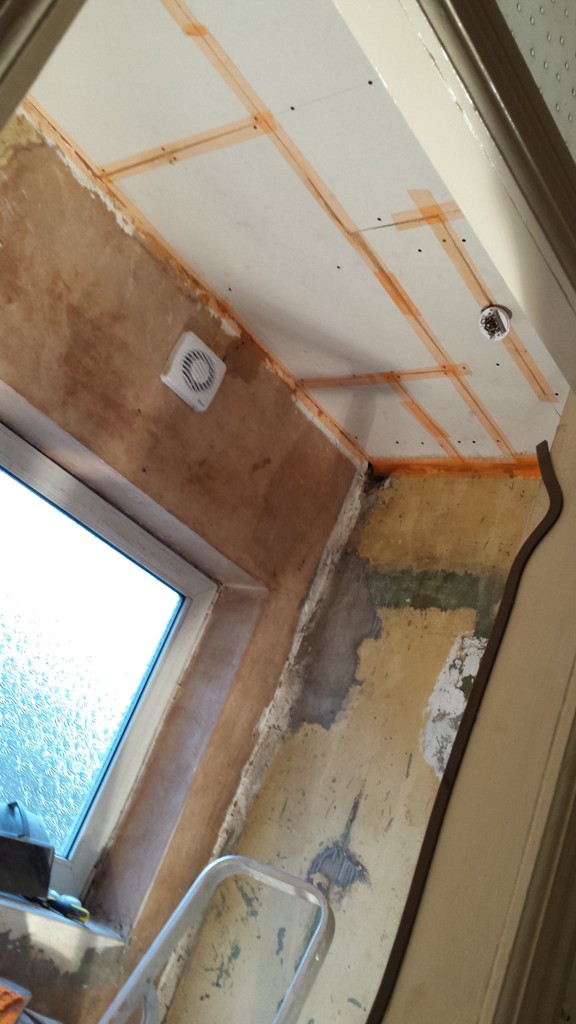
My ceilings are all old lathe ones, which you can get re-skimmed but it’s just cheaper, easier and safer to get some nice professionals to board them over with plasterboard.
I nabbed some photos while they were having a tea break- a job like this only takes two tradesmen a single day if they know what they’re doing. I managed to get this done for £320, which would have been £330 but I think the guy felt sorry for me.
Whoooo ghost bathroom! I was worried about plaster going EVERYWHERE over my new shiny taps and sink, but I picked these guys because the reviews said they were very clean and tidy on mybuilder.com (which is a smashing tool for anyone looking to get work done).

And done! The tiles I left because I’ll be boxing all the pipework in, but these walls haven’t been this flat in several decades, if ever.
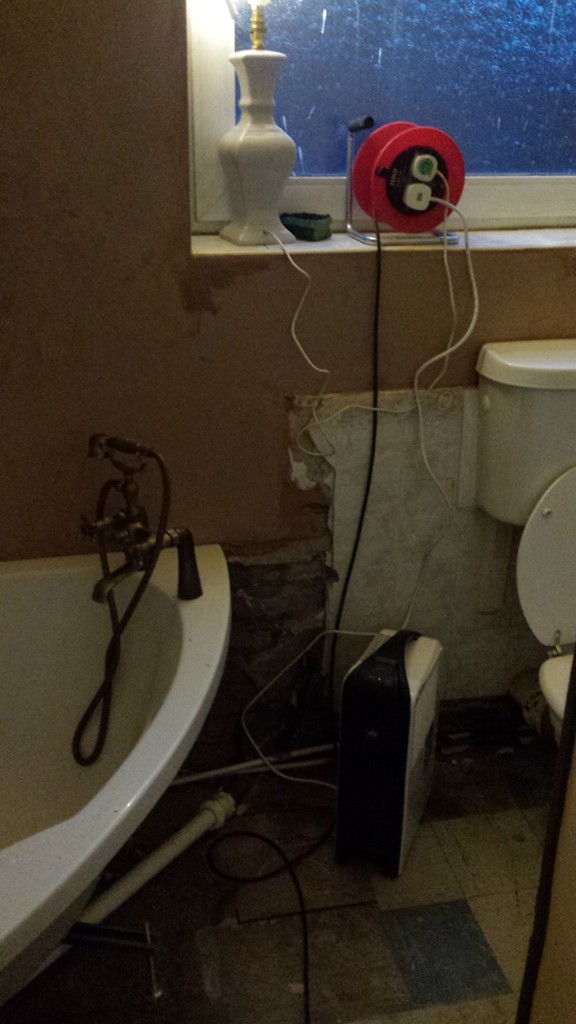
My new de-humidifier gets to work drying the room out and the lamp of shame returns while I wait for the plaster to dry out enough to put the overhead light back in.
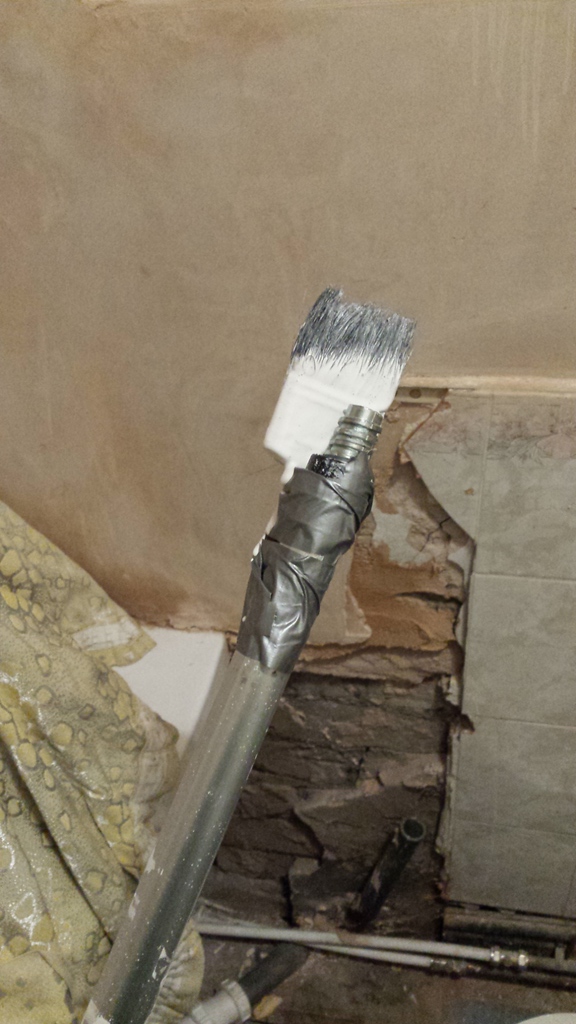
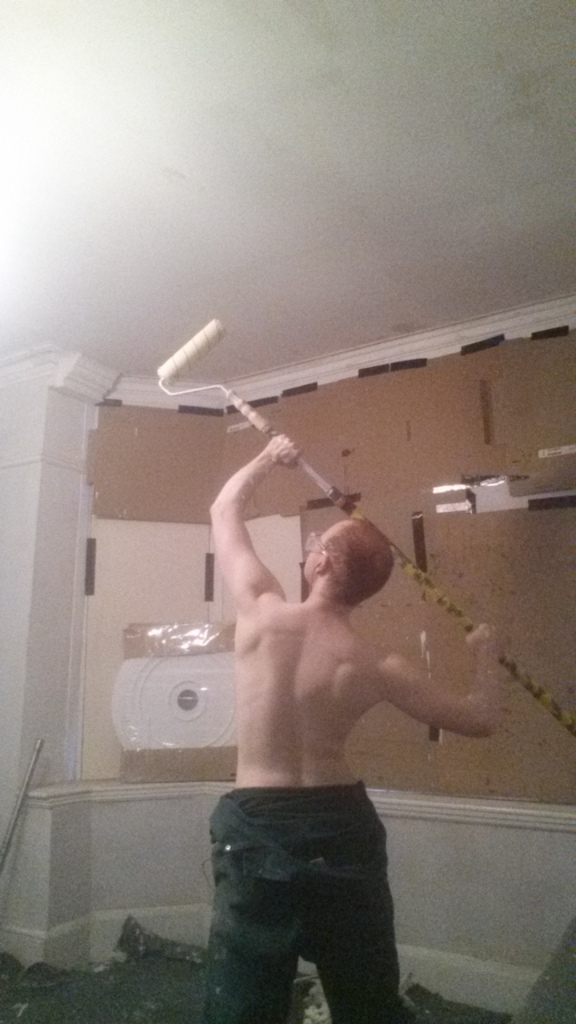
You know what’s awkward to paint? Tall ceilings over a bath.
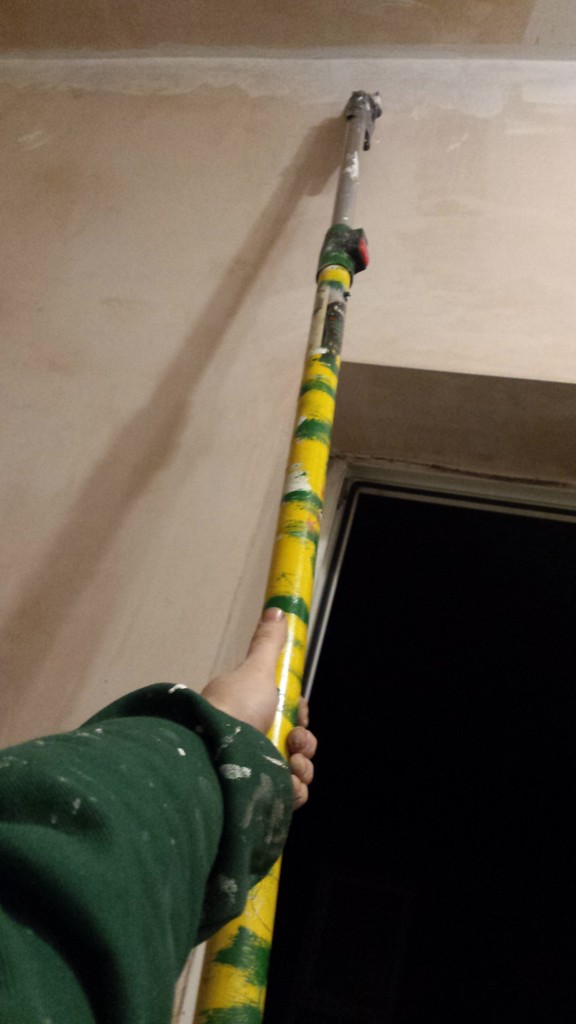
I used a roller for most of it, but this ingenious life hack will blow your mind.
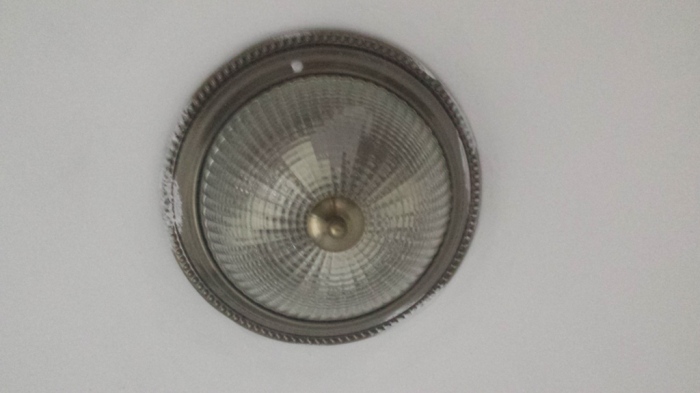
(It’s easier to scrub paint off this type of light than it is to mask it. Probably)
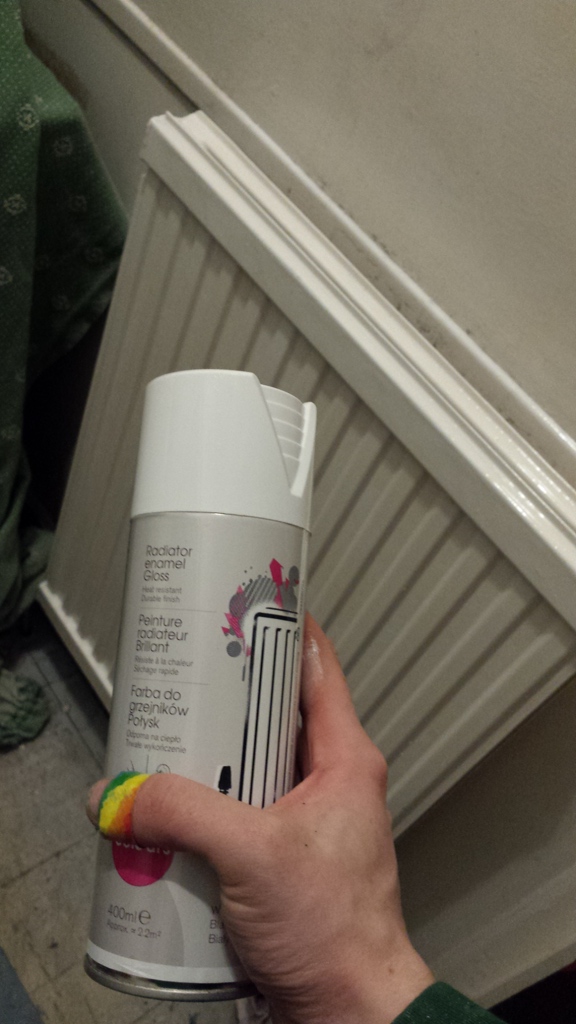
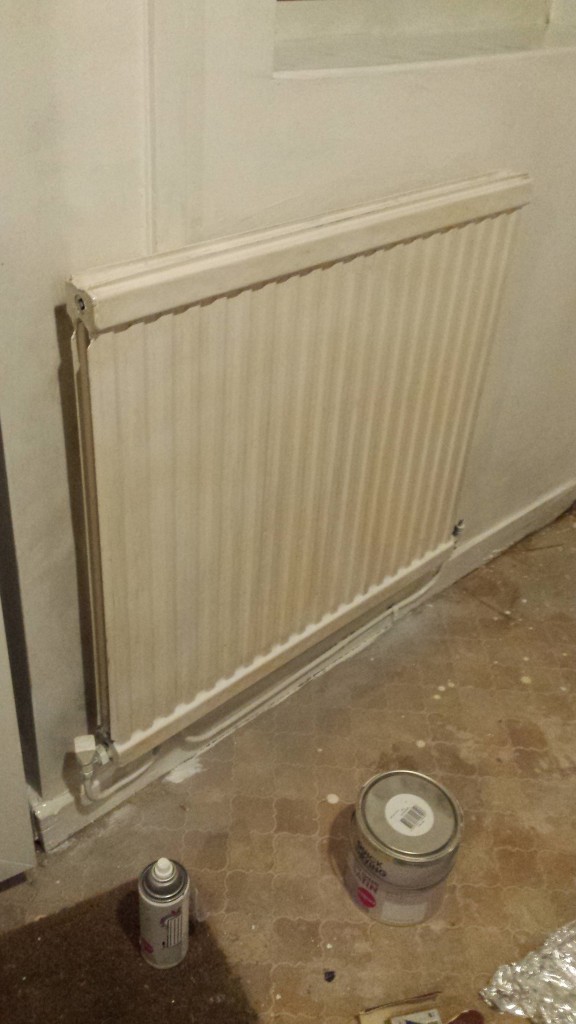
Even the radiator got tarted up a bit! This stuff is great by the way, one can does about 3 medium radiators.
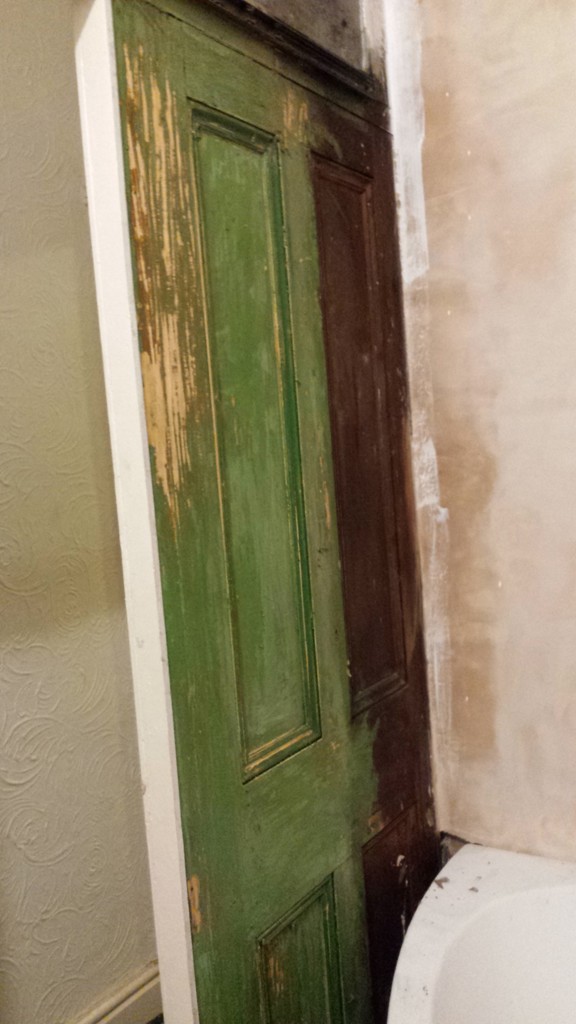
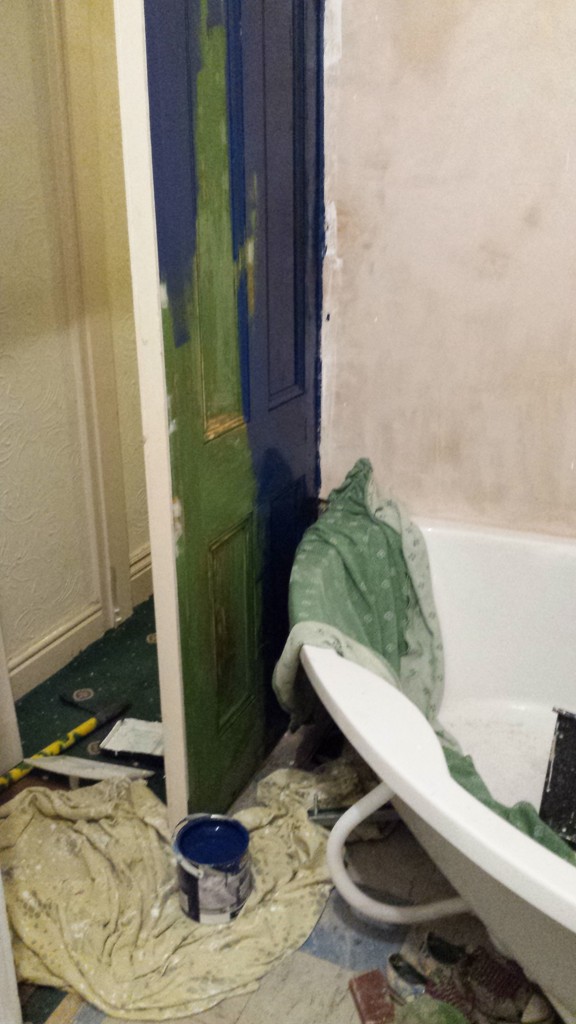
Now it was time to focus on the awesome secret door that was masquerading as one of my bathroom walls.
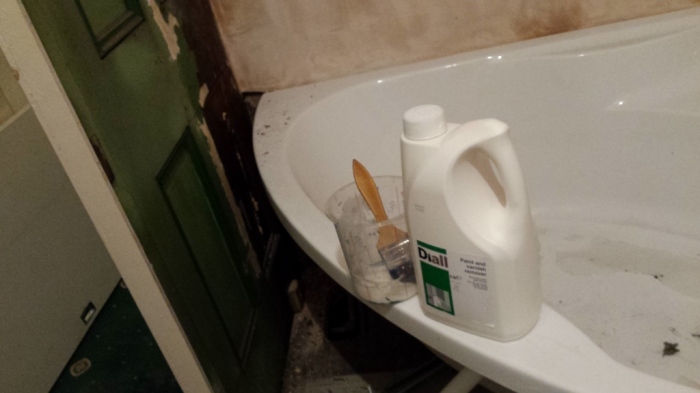
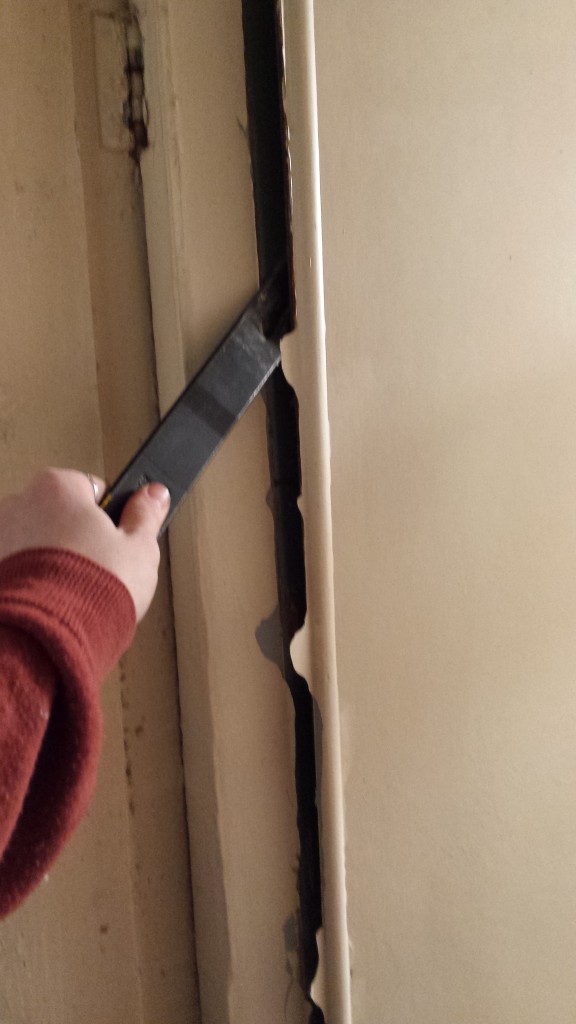
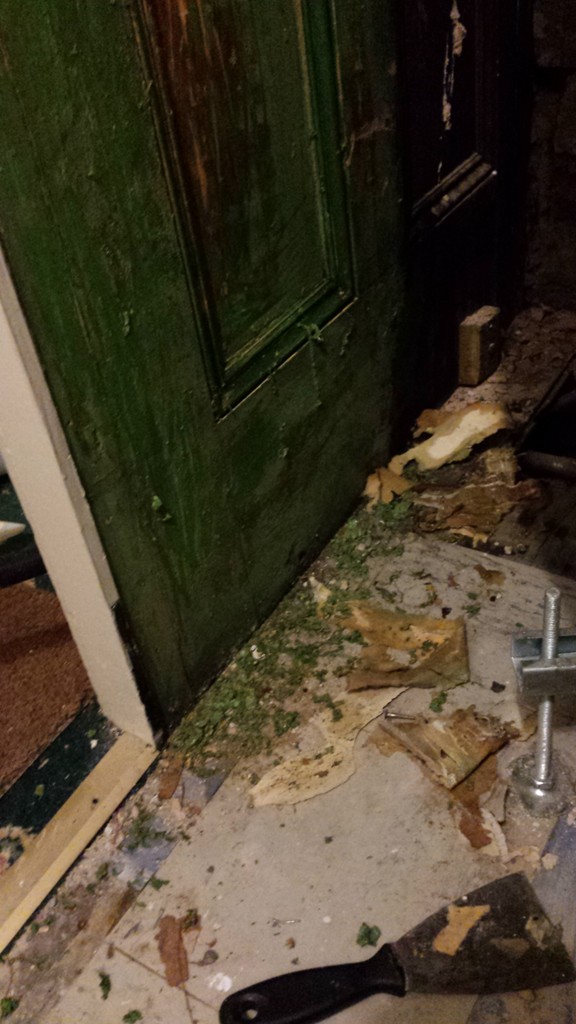
Some of the paint was very bubbly so I used stripped to get off what I could.
Then the wallpaper stripper to get off the random bits of wallpaper that was on there.
Mmm, festive.
Time to make a statement piece out of it!
Awww yisssss
Next job was tiling the damn thing.
Tiles and tile adhesive is heavy yo. I got most of it as far as the kitchen and then gave up, only moving it upstairs when I needed it.
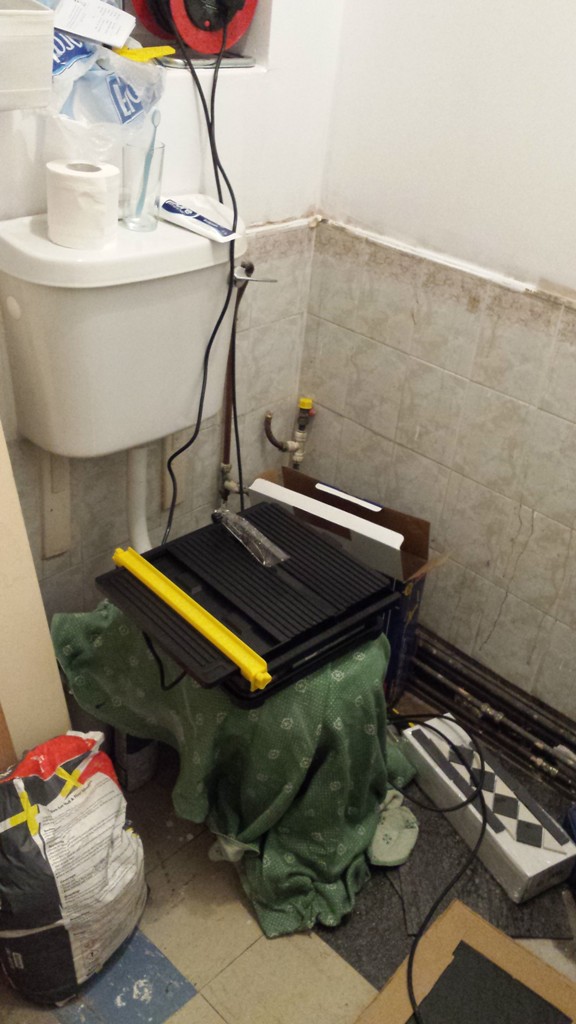
I bought a cheap diamond cutter because I knew I had some weird cuts to make, and began my journey into tiling for the first time.
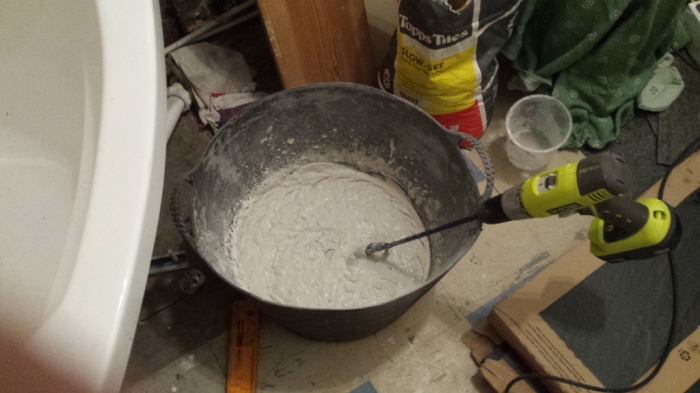
I bought slow set adhesive which was a very smart decision.
Here we go!
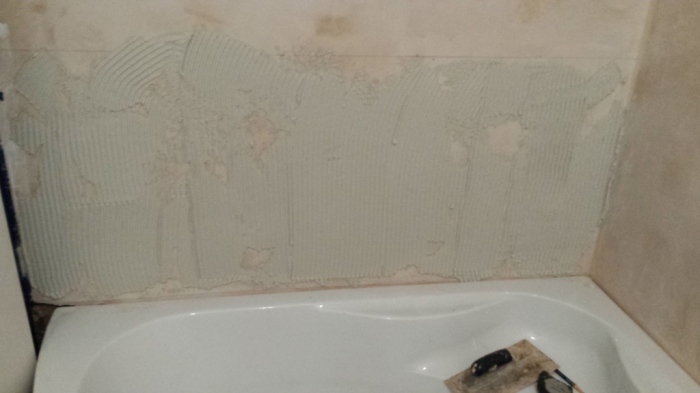
Here’s where things started to get…interesting. I levelled out the bath as best as I could and used it as the initial straight line. However every time I stepped in and out of the bath the corner moved and eventually I just kinda jammed tools along the bottom edge to keep things level. Turns out when tile adhesive says ‘good initial grab’ it doesn’t mean ‘will stay where you put it’, but more ‘won’t fall off but will move about as much as it damn well likes’. It didn’t help that I was using ginormous 60x30cm tiles.
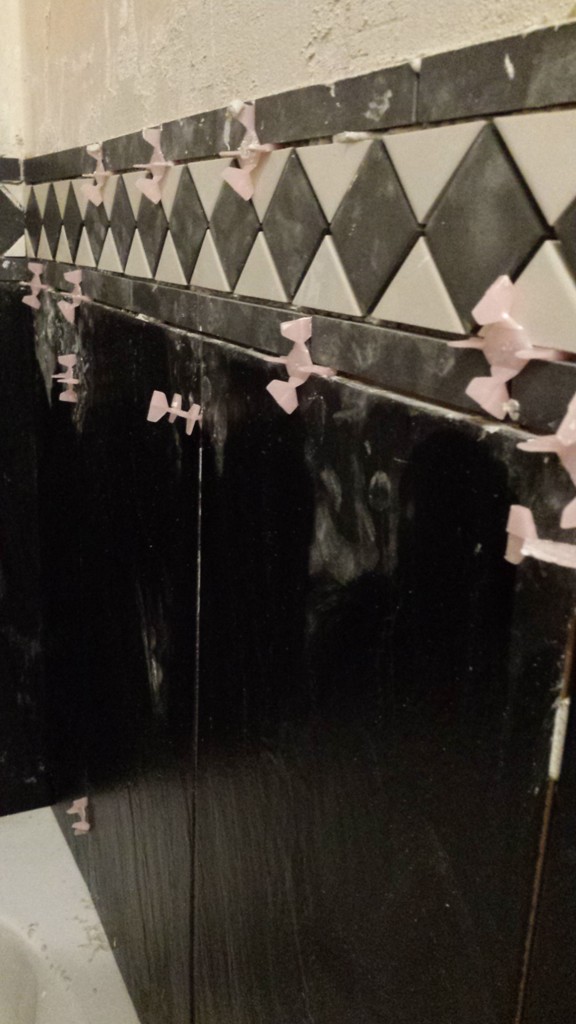
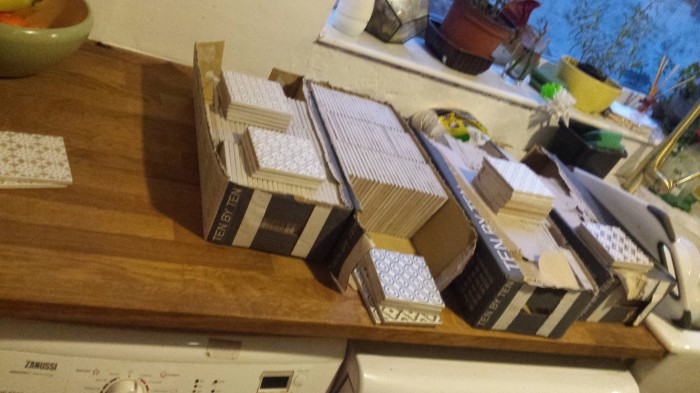
Everyone on the internet is using subway tiles right now, but I’ve always loved large vertical tiles for a more clean look, and well, less effort. However I did want something a little victorian to help the house tie together, so I got some of these victorian border tiles to go along under the window. This one line of border costs me more than all the large black tiles put together- tiles are expensive yo!
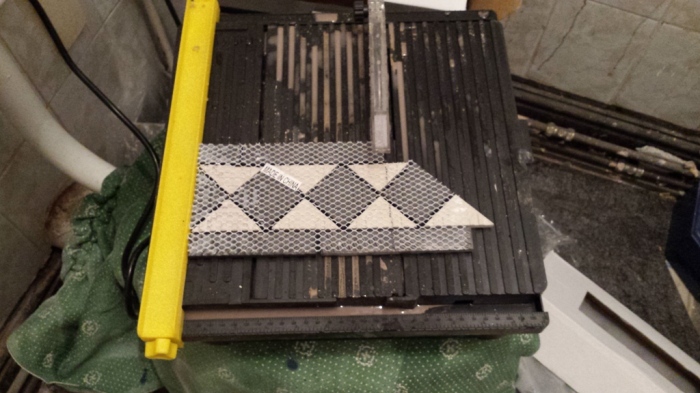
I found the best way to cut the border tiles was to turn it upside down and go through the back. Cutting tiles was surprisingly easy, if you ignore how messy, noisy and scary it is to work with a whirring blade chucking water at you at high speed.
At this point I *tried* to continue tiling above the border, but the weight of the large tiles squashed the delicate smaller ones, so I had to yank them all off, scrape the wall down and start again the next day. Good thing I bought two bags of adhesive!
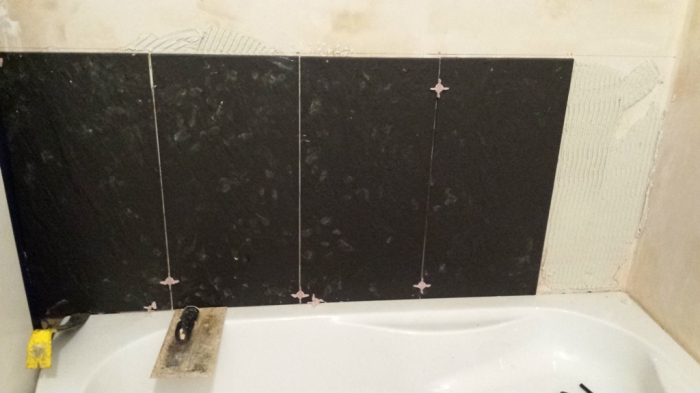
The next day the border tiles were set enough to continue, so onward!

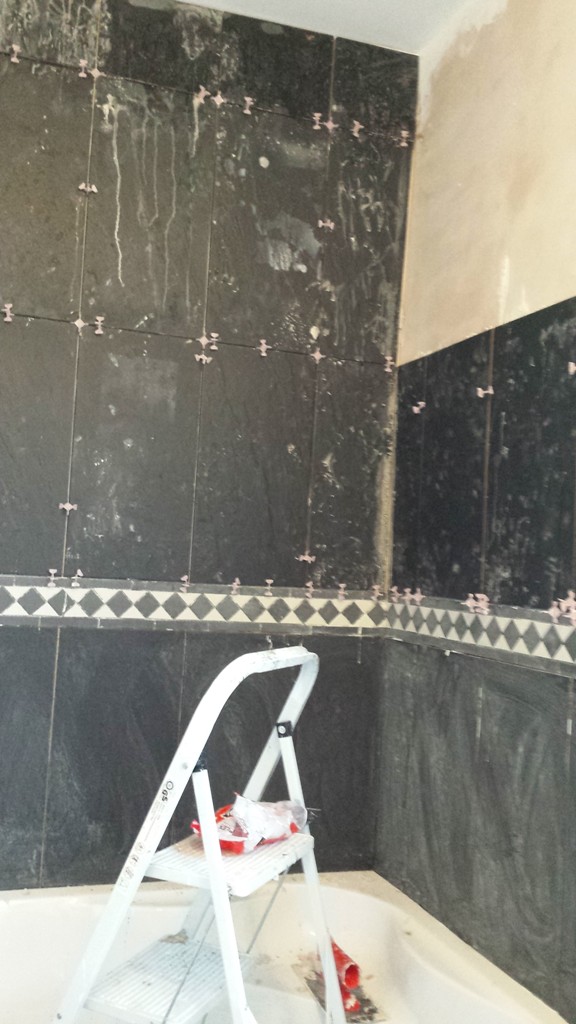
Even after being replastered the bathroom walls were wonky as hell. My advice to anyone tiling an old house is to use smaller tiles than I did- I had a lot of trouble with corners poking up where the tiles went over large bumps.
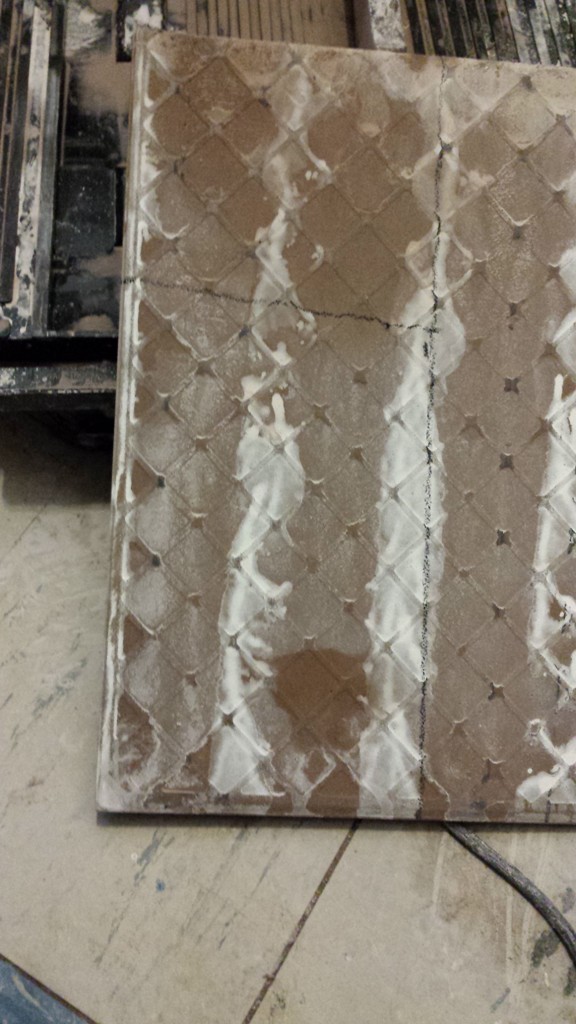
The last tile cut! Here you can truly see the wonky nature of my house.
In it goes! First ever tiling attempt DONE. I don’t know how clean real tilers can do things, but my tiles looked like I had a fight with a mud man.
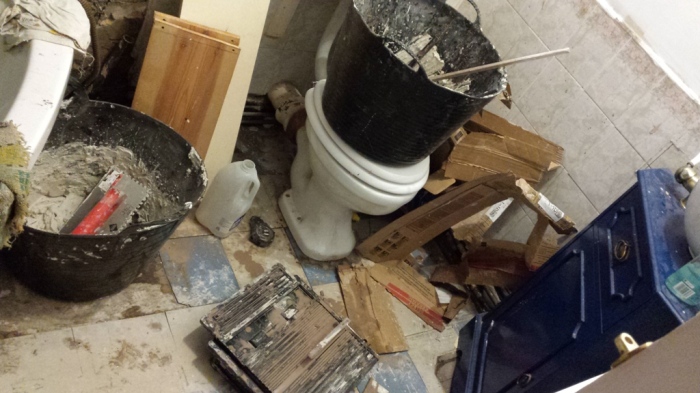
Here’s what my workspace looked like. I started out with the cutter on top of the toilet but the sheer size of my tiles made it impossible to balance on there properly. So much adhesive and gunk everywhere…
(Did I mention I was tiling the bathroom the same week as the wall knock through? In for a penny, in for a pound, might as well make the entire house a dust filled hole all at the same time)

(This was the pink kettle the builders brought on site. I was not ready for the 10am discussion on gender masculinity norms, but just goes to show that people surprise you!)
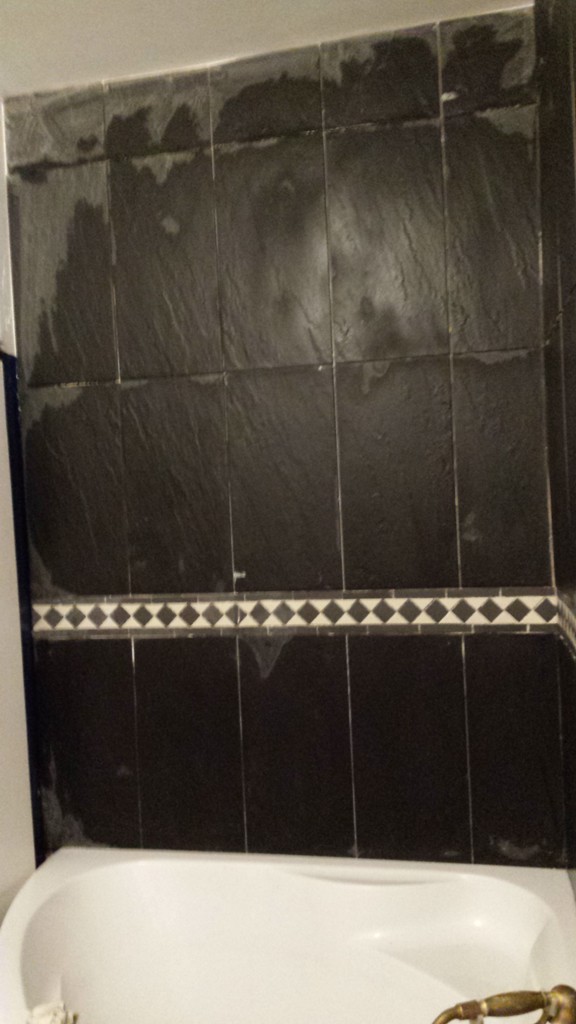
Then the fun bit- scrubbing the adhesive off before it set!
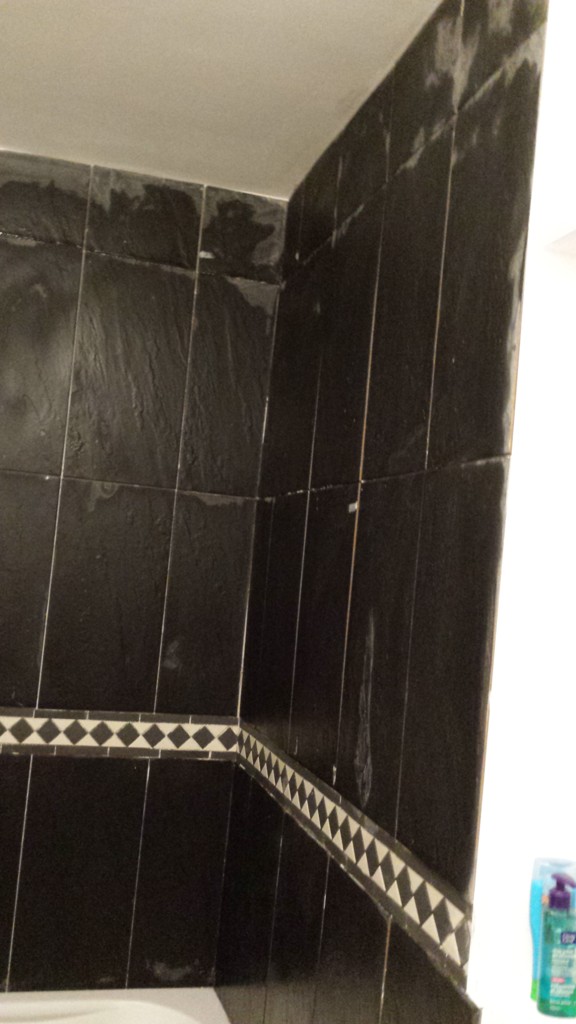
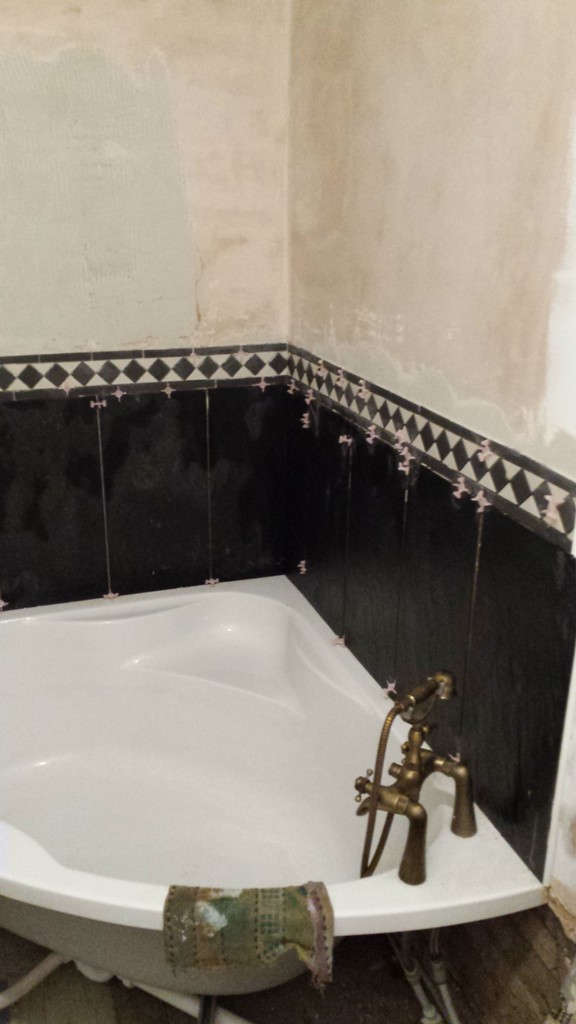
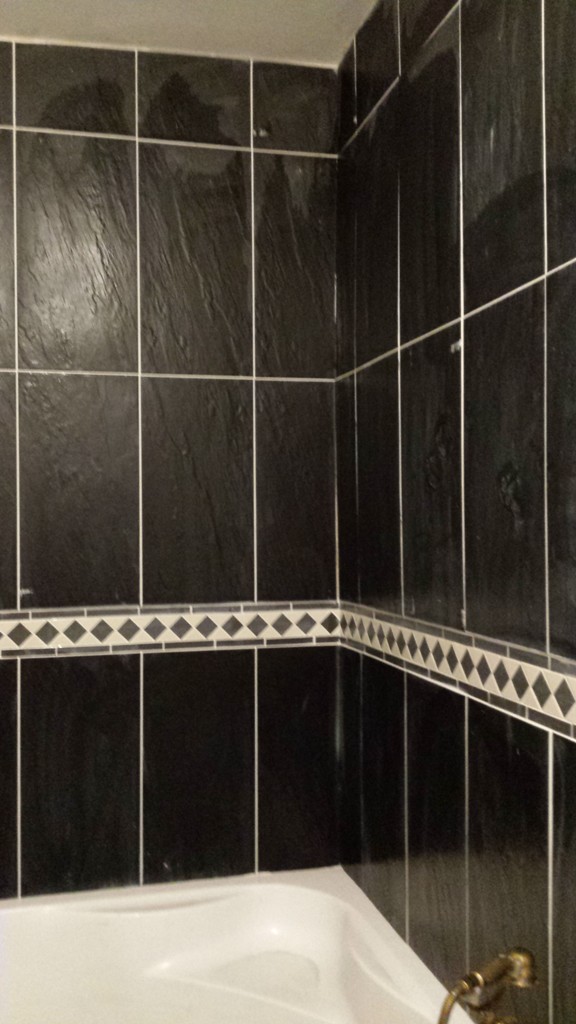
I was so happy with the results- while it is a big wall of black it’s actually very cosy and not to mention very striking.
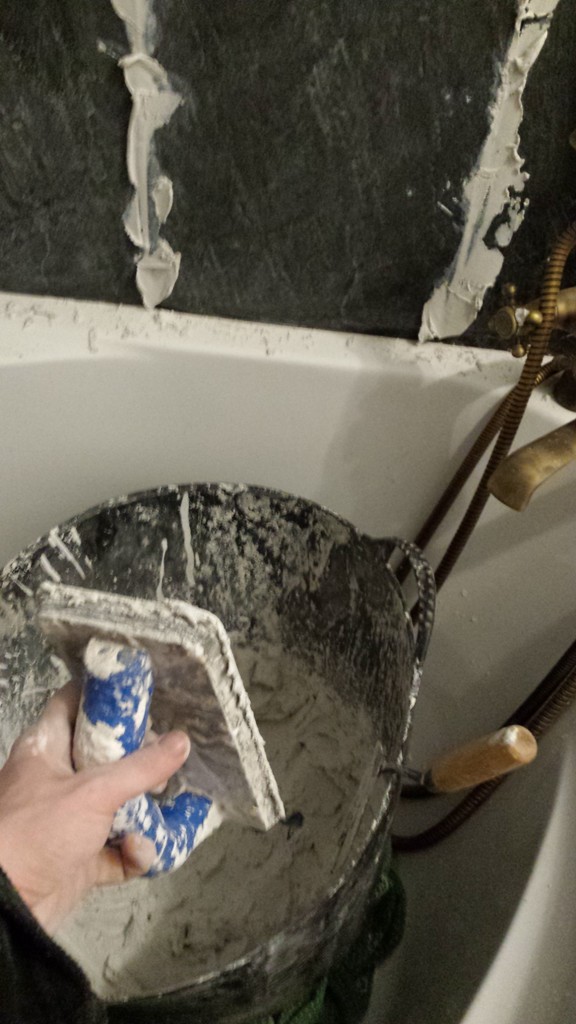
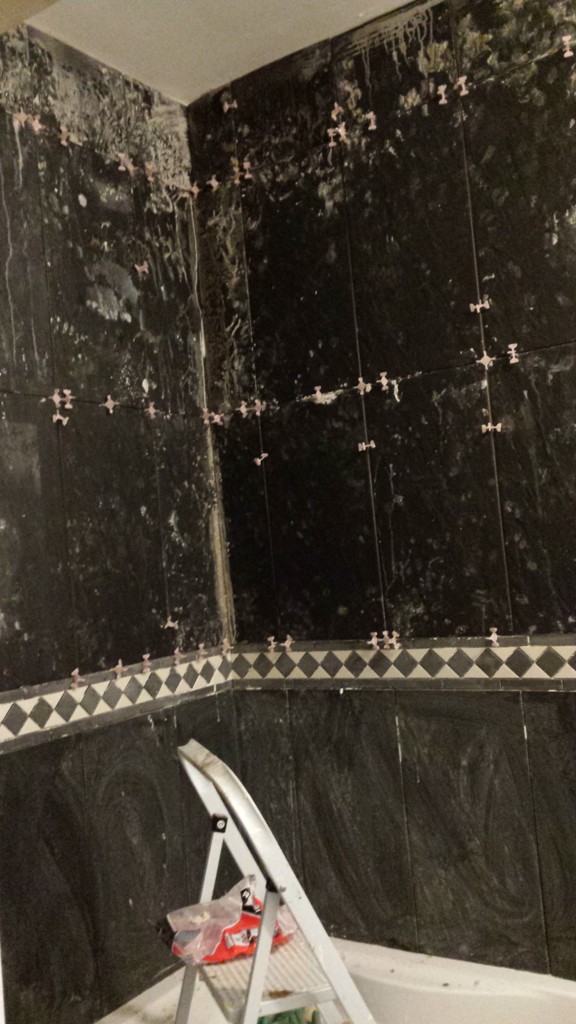
I waited the standard 24 hours for the adhesive to dry, then it was time to learn about grouting. I found it was easiest to use a trowel and a float to get the grout in the seams, then use the float to spread it all over.
MY BEAUTIFUL CREATION
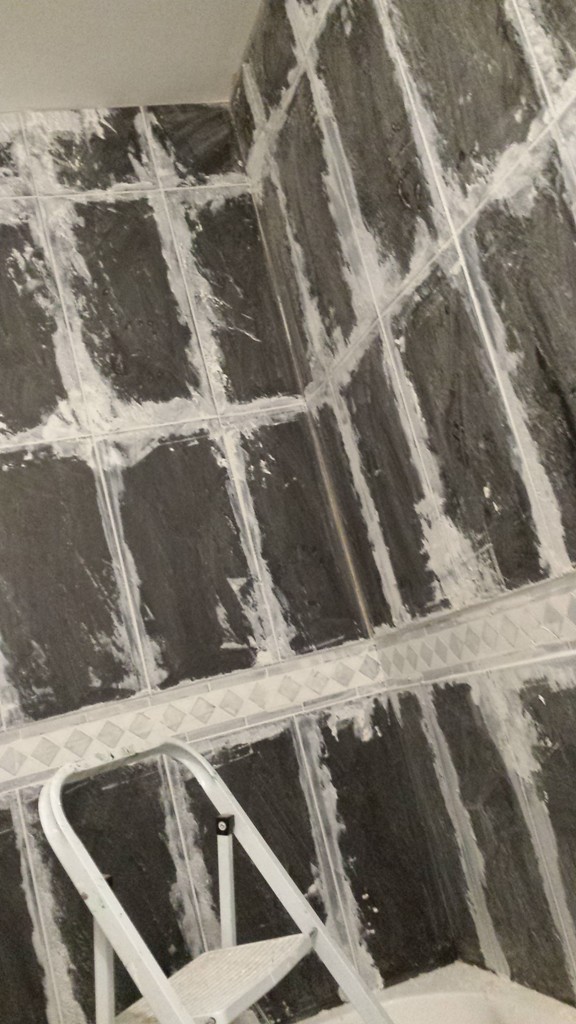
Almost as soon as the grout was all finished I began washing it down. My mum has had a lot of trouble with grout film on tiles in the past, so I knew that you had to get that stuff off QUICK if you didn’t want to spend the rest of your life scraping at it.
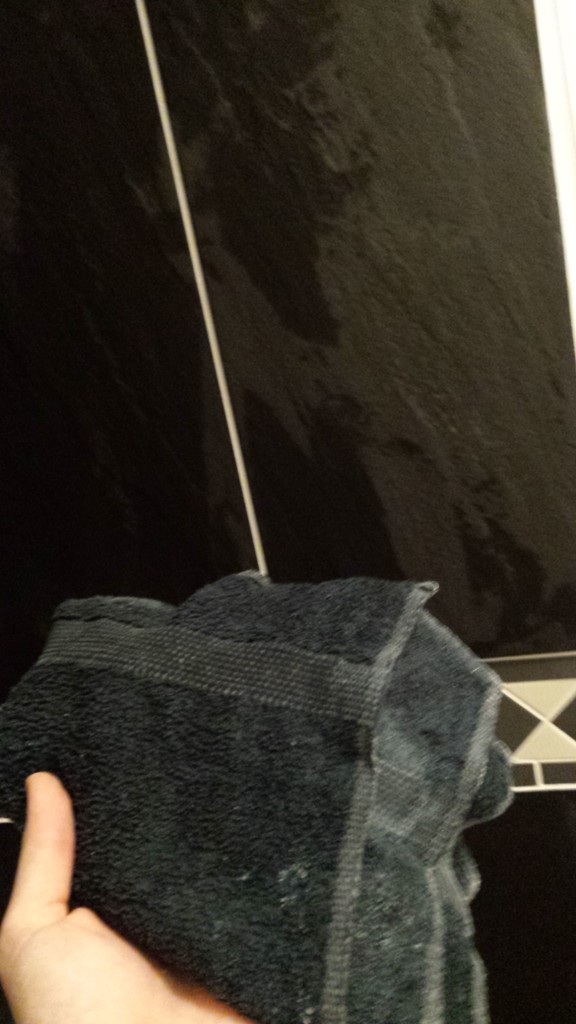
I gave the tiles 3 wash downs with water before using an old scrappy towel to dry it and get the last of the residue off.
😀
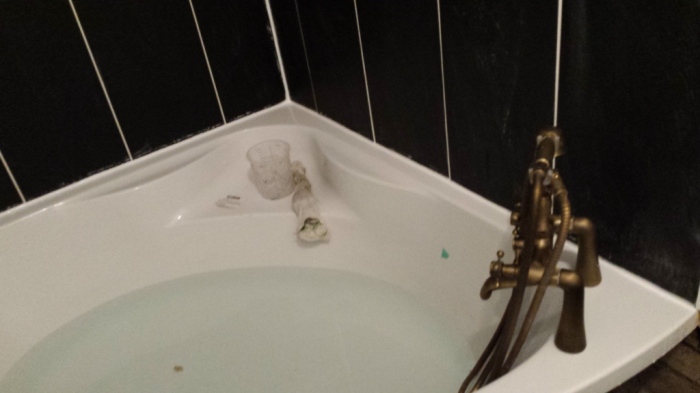
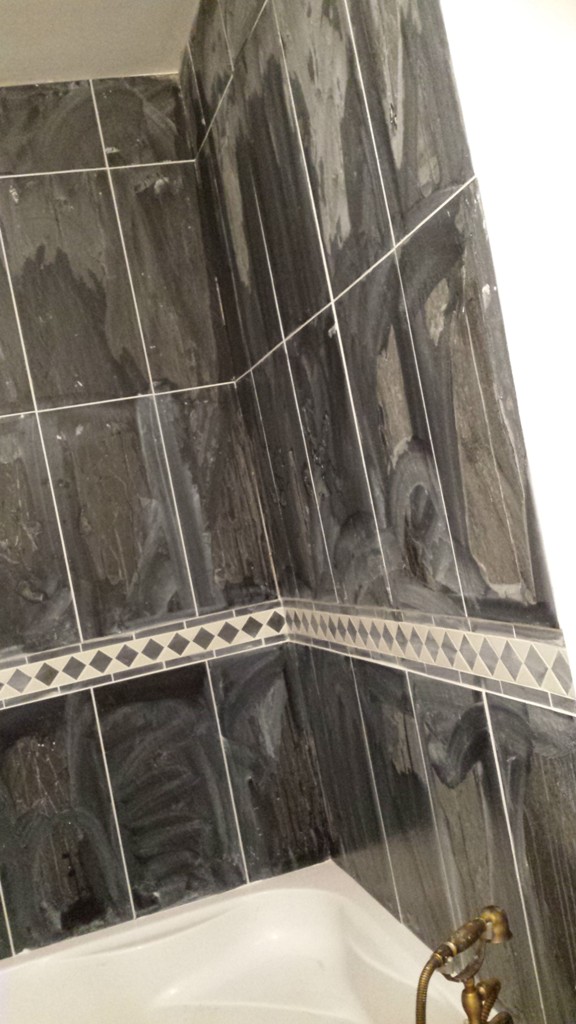
When the tiles were all dry a couple of days later I siliconed the edges of the bath and down the corner of the wall, using the classic trick of filling up the bath with water to make sure it was weighed down properly. The next night I had the best bath of my life while staring up at my beautiful tiles, attempting to sooth the aches that 3 days of tiling had wrought on my body.
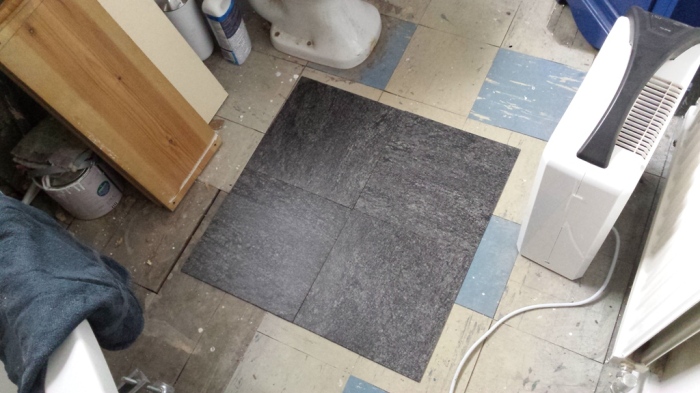
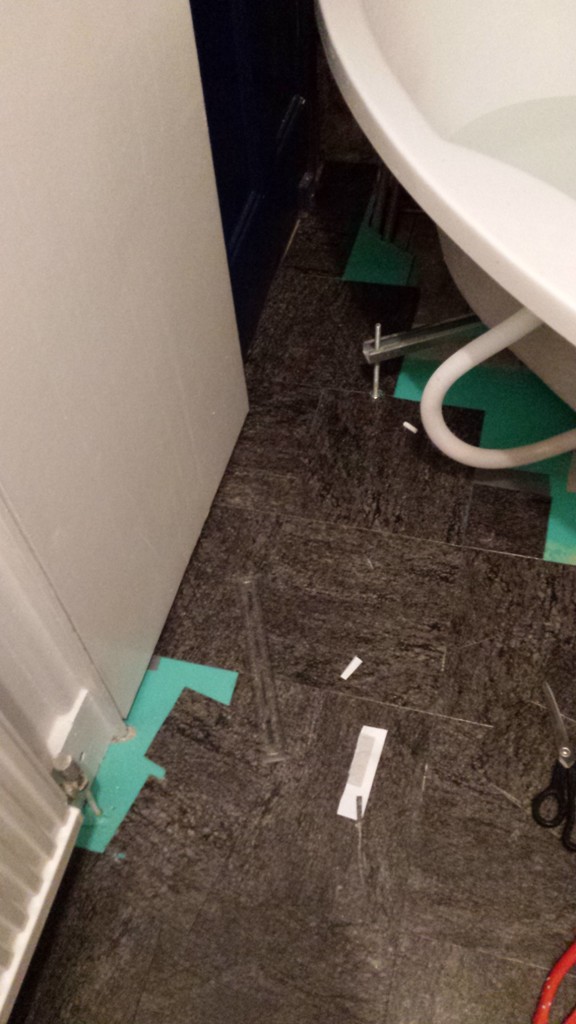
Now it was time to think about flooring. I’m a big fan of industrial vinyl tiles which unlike the horrible thin ones you get in B&Q, are 2-3mm thick and come in all kinds of colours. I got mine from Kimpton Flooring which is nothing to do with me commercially, despite sharing my name! They’re a company in Wales that is the kind of place you call up with an order, so I did the awkward ‘haha my name’s Kimpton too’ on the phone.
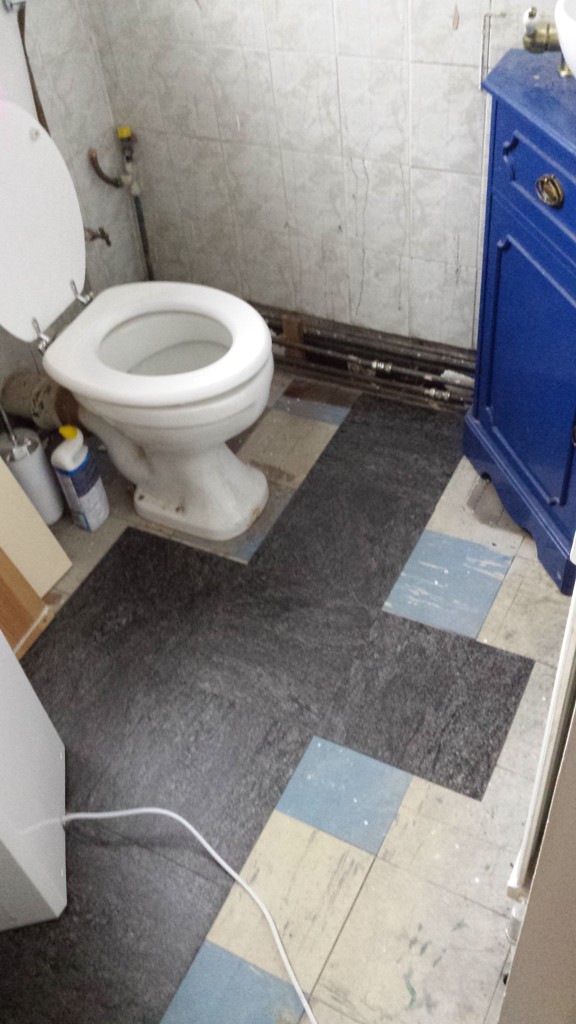
I briefly check a layout for the tiles before any underlay or glue gets involved. I decided to rotate my tiles every other one because it looked weird with all the pattern going the same way.
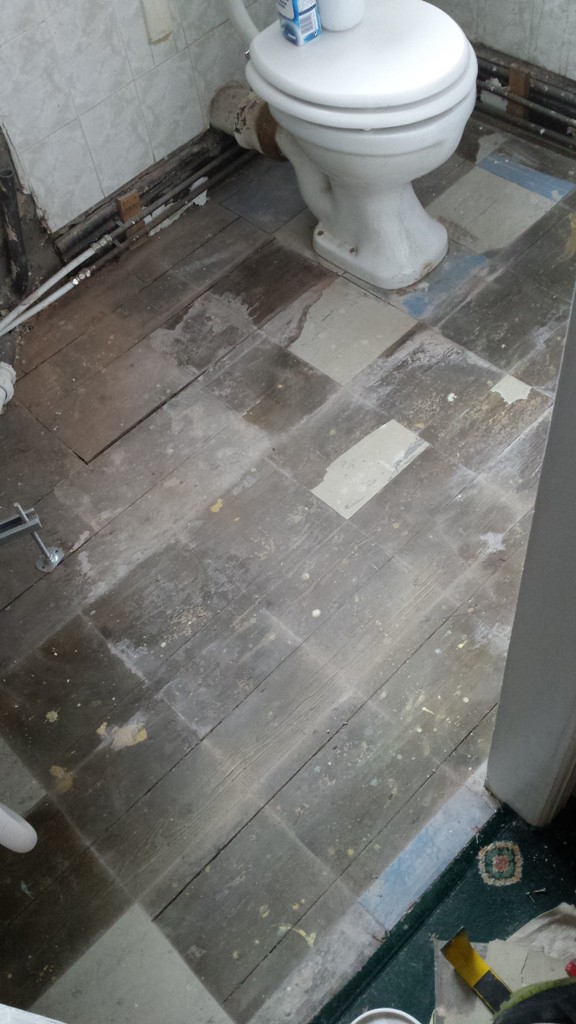
Good bye gross floor!
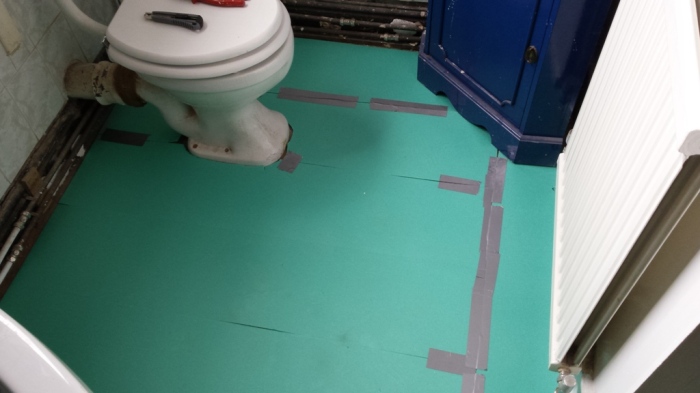
I used the ikea floor underlay because I just happened to be buying other stuff in ikea. It was nuisance to deal with though and whoever decided to make it bright green was a horrible person as it showed up slightly through the tiles.
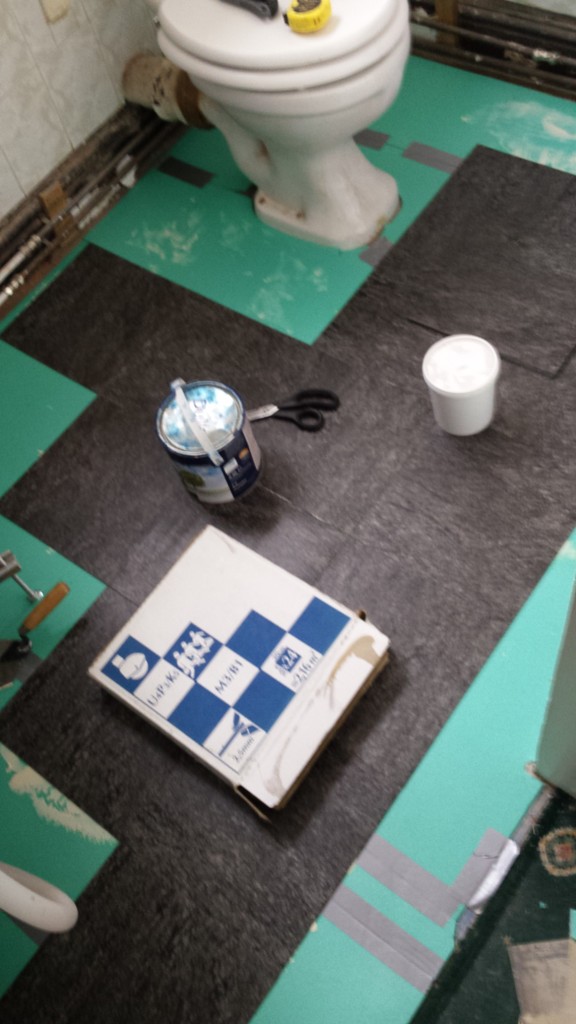
It begins!
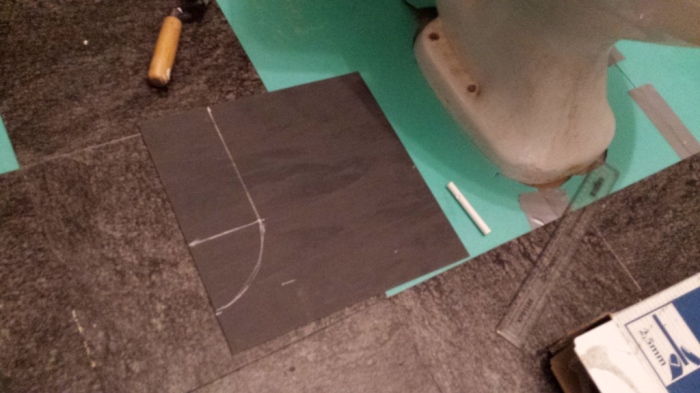
I’ve used tiles like this in my last house so we’re old friends. You can just cut into the back with a blade and snap them or even use scissors if you have strong enough hands.
Perfect fit!

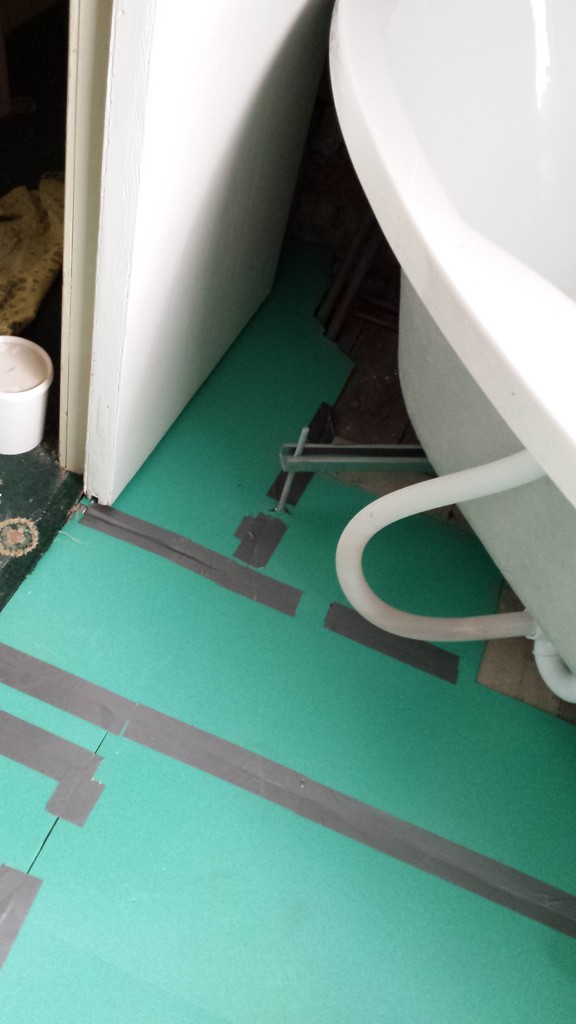
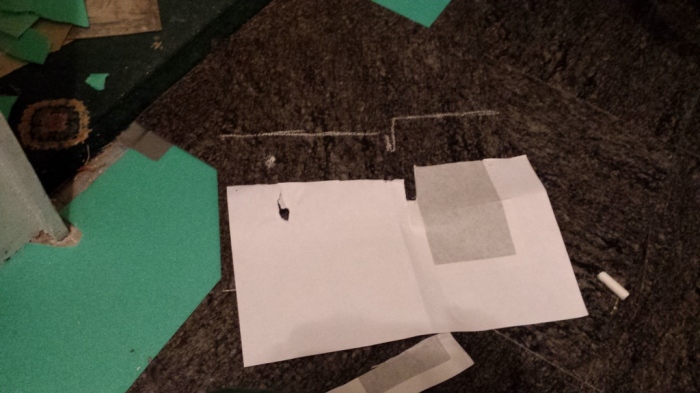
For more tricky sections I used scrap paper to take a template and transferred it over.
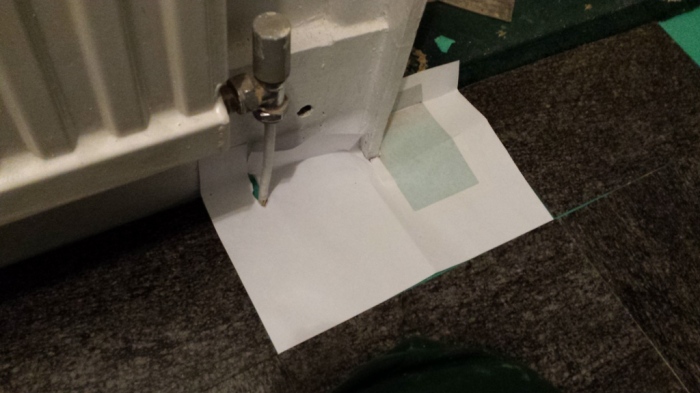
Especially around radiator parts.
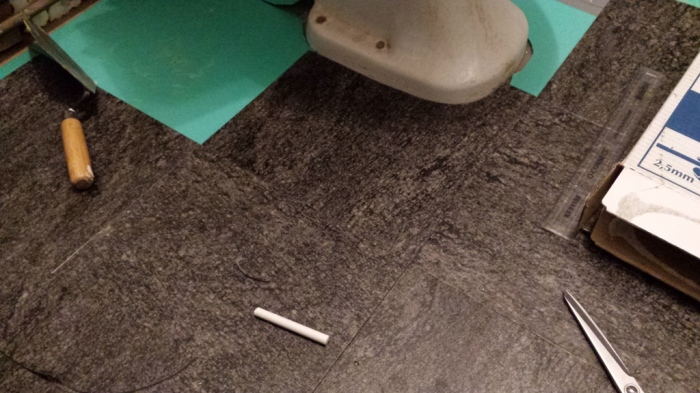
The tiles then get an assortment of tools laid over the corners to hold them down, and I have a new beautiful floor!
Next step is the dreaded bath panel. There’s a history in my family of bath panels being the trickiest part of a bathroom to figure out, you merely need to mention one near my mother to have her scoff and grumble. But with christmas fast approaching I wanted the bath sorted, and there’s just something particularly scummy and depressing about an exposed bath with pipework.
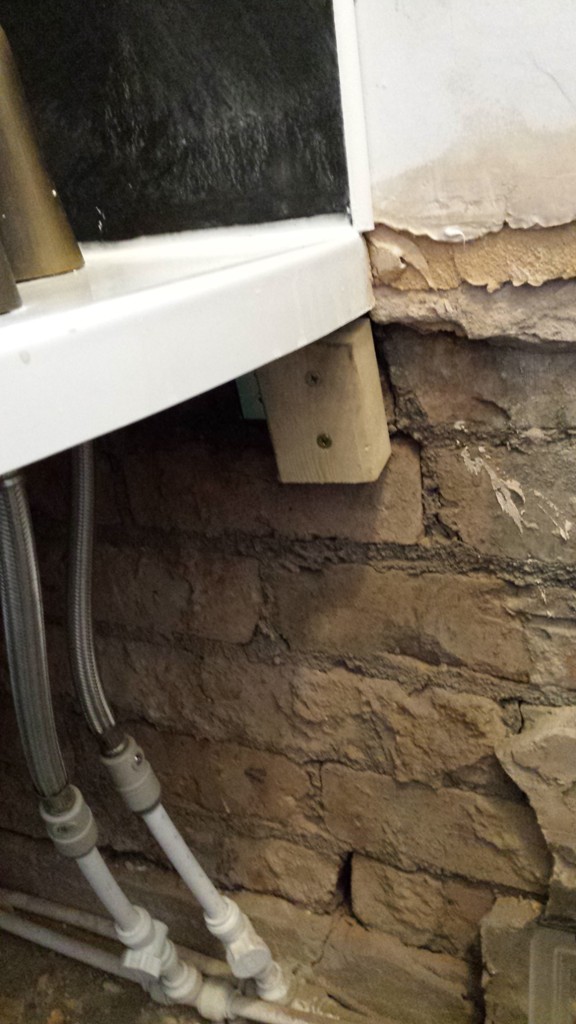
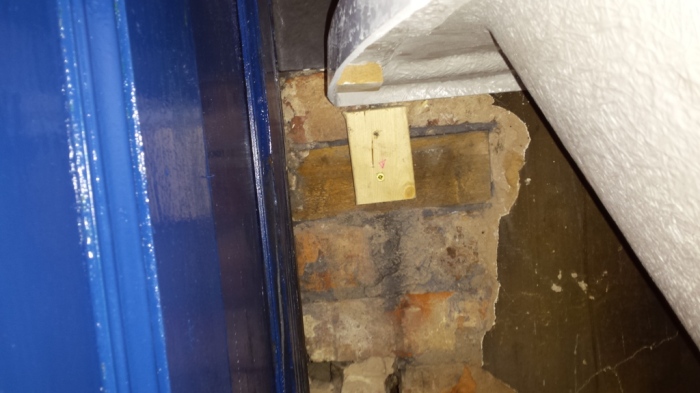
As well as adding clips to the underneath of the bath I drilled two blocks of wood into the walls in the corner to give it extra support.
Getting this into the corner was a nightmare, there was barely enough room for me to squeeze in.
Then some corner cutting for the pipework. You have to cut panels like this with a jigsaw which is hilarious to manoeuvre in such a tiny bathroom.
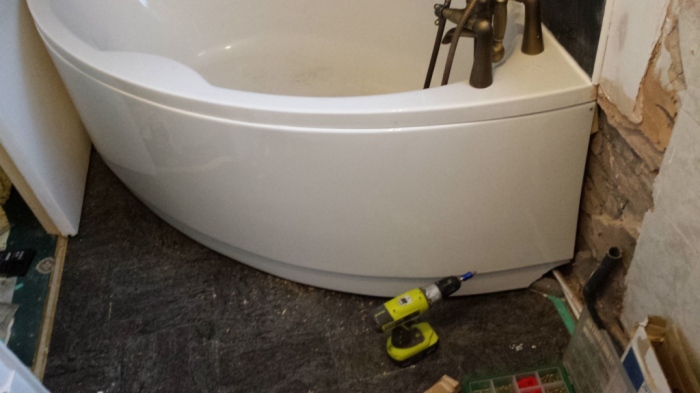
A couple of back and forths as I had to make the corner cut larger, but suddenly the bath panel just slotted into place and the family curse of difficult panels was finally broken!

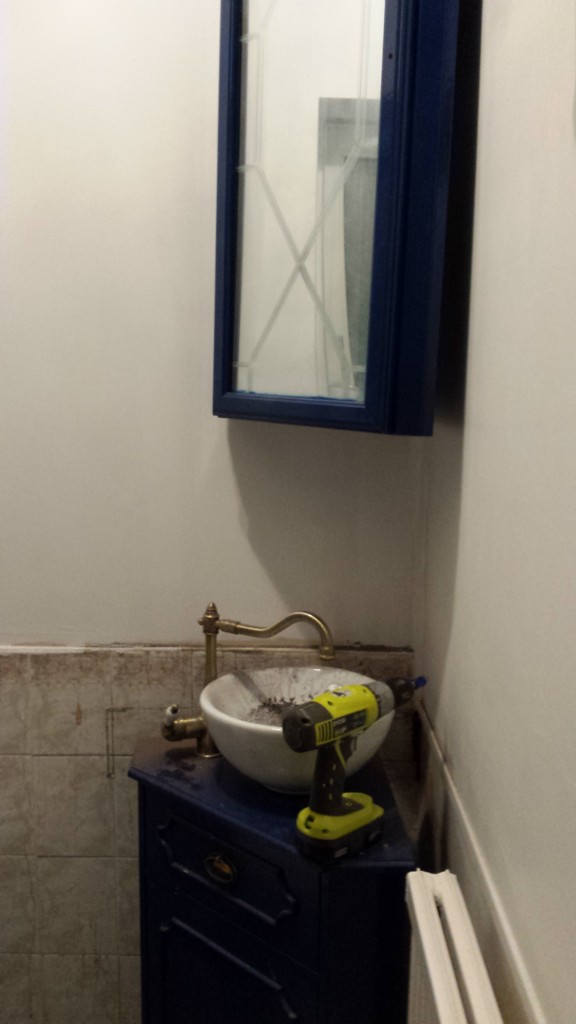
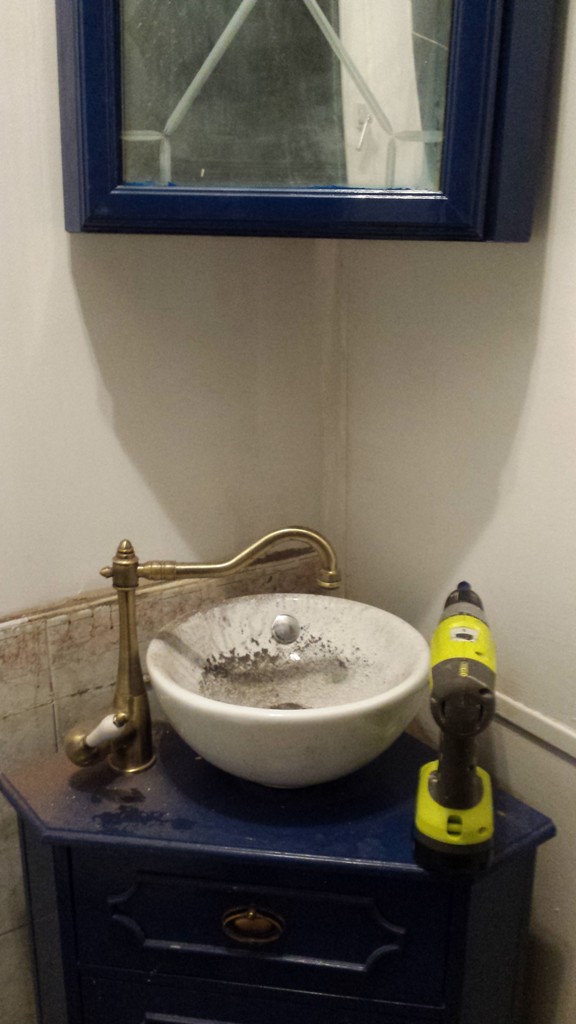
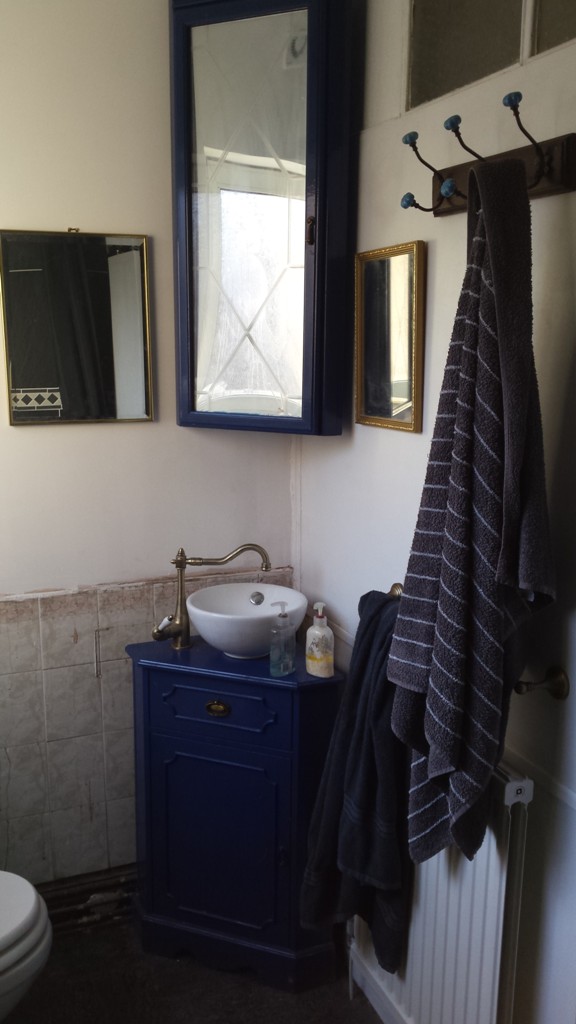
(However my next job was fitting this custom mirror into the bathroom cabinet and that took me HOURS to get right. I ended up giving up and using triangles of floor tiles to hold it in. Just goes to show that it’s always the random weird stuff that takes the most time, not the things you expect.)
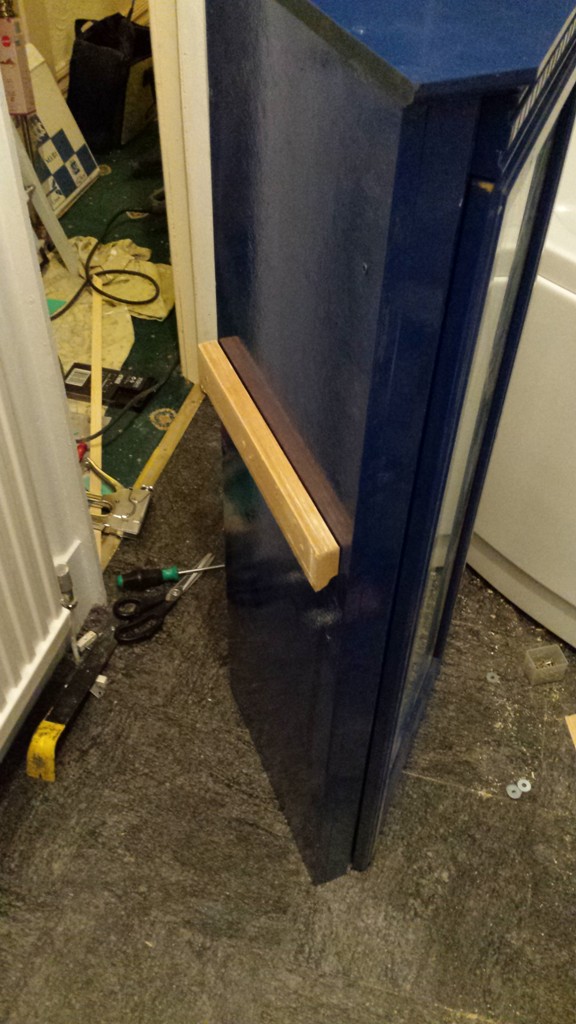
For the cabinet I did a couple of google searches about wall mounting heavy things and came across this great idea where you use two pieces of wood with a mitred 45 degree edge to create a hook/rail support on the back.
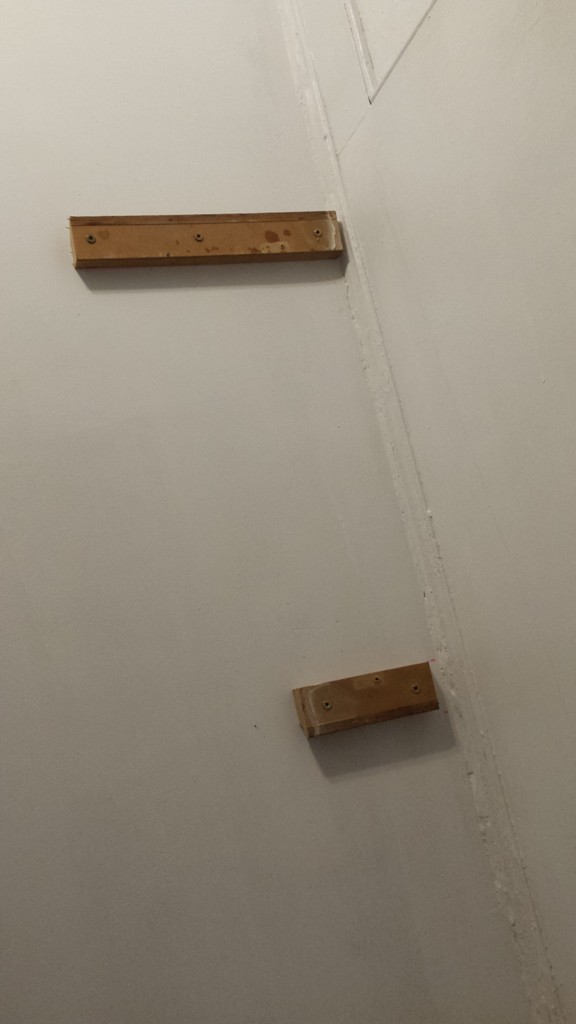
The other bit gets mounted properly into the wall with plugs and huge screws, and I added a bottom piece to make it stand away from the wall.
And lo, a cabinet goes on the wall with absolutely no fuss! I then used some more screws to secure the cabinet inside to the wood rail, but that sucker isn’t coming off any time soon.
Siiiigh, brick dust though. My eternal nemesis.
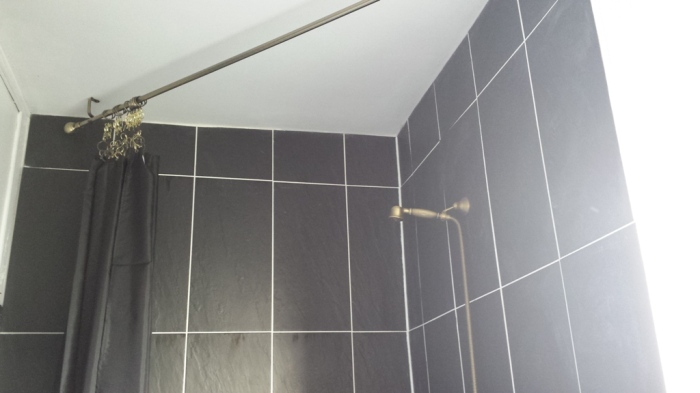
The last job was putting up a shower rail, in my case a brass curtain rail because I like things fancy, and a brass shower holder that I got off ebay. Then I took my FIRST EVER PROPER SHOWER in the fantabulous house. No more awkwardly sitting in the tub holding the hose above my head, no sirreee.
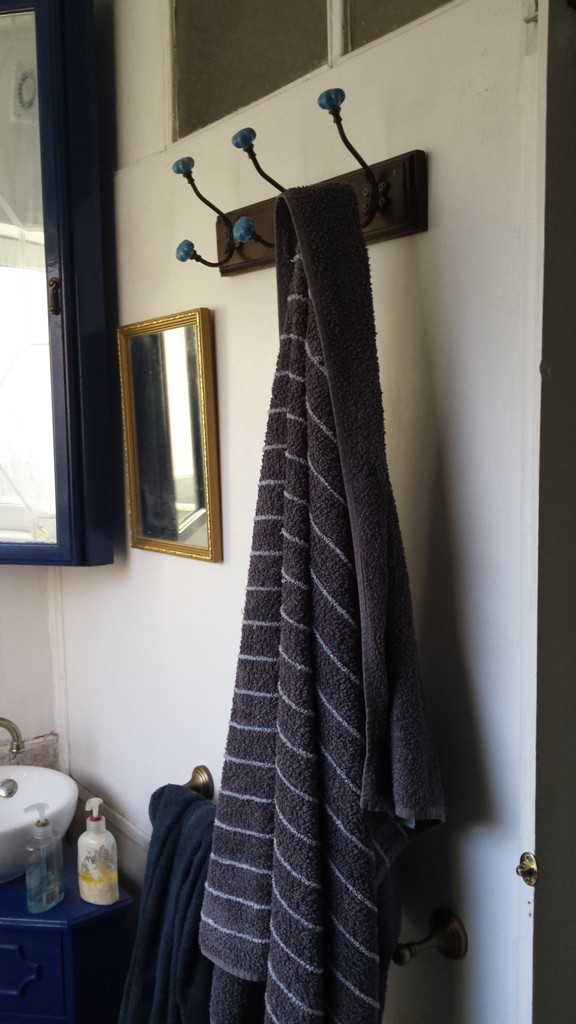
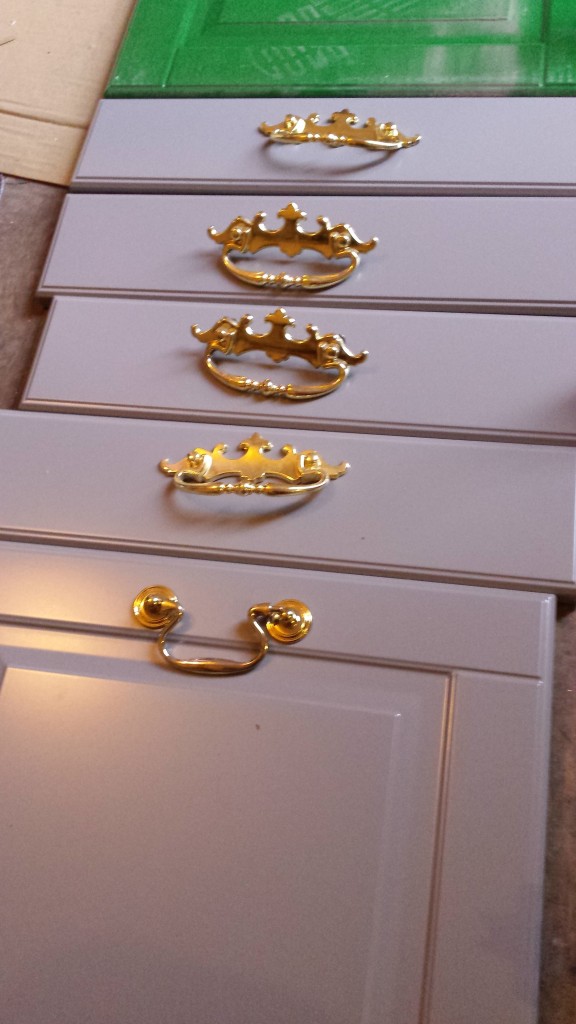
Then a towel rail and some hooks from Home Sense (the home version of TK max) and it was starting to look like an actual bathroom.
The last thing to do in here is to box in around the tiles and pipes, but beyond that I’m basically done!
Until then I can appreciate my new, beautifully white ceiling with 100% less holes.

And for the first time since moving into this house, a lock on the bathroom door. Truly, this is living the life.
Until next time!